-

-


Follow Us
-

The June 9th update brings tiered loot to every raid and dungeon in Destiny 2. Each one will see their weapons get a loot refresh and an individual armor set. The armor sets come with their own set piece bonuses. Root of Nightmares is a notorious raid in Destiny 2. It was by far the quickest World’s First race in the modern Destiny 2 raids because of its simple mechanics. It is also the raid that people can comfortably complete solo.
Root of Nightmares: Loading Into the Raid
You load into the raid on one of Rhulk’s Pyramid ships. The ship also happens to be where Nezerac is. As you load in, run forward until you reach the edge. Here you want to turn left and run down the path. Continue forward until the other side, where you will spot a statue. Drop towards the right and follow where the Cabal enemies are coming from. Hug the wall to find an opening. You will eventually see a root extending out that you can run across to the first encounter.
Root of Nightmares: Cataclysm
The first encounter introduces you to the main mechanic of the raid. Before you start, there is a white node, surrounded by a light bubble. Stepping into the bubble and shooting the node starts the encounter. It will also give the players inside the bubble a Field of Light buff. Look for two spirals in front of you. One of the two spirals will have a black orb in the middle. Run up to the spiral with the Field of Light buff, and shoot the orb. Doing so completes the spiral, and you lose the Field of Light buff. You will need to complete each spiral. There are four spirals for the first section.
The other aspect to keep in mind for this encounter is that you get a Sweeping Terror timer. If the timer hits zero, the encounter wipes you. There are two ways to avoid the wipe. Either complete the spirals or kill a Tormentor. To spawn the Tormentor, you will need to kill the two Psions floating in a bubble. Killing these Psions spawns the Tormentor. When you kill the Tormentor, you gain increased time to the wipe timer. Only kill the first Tormentor if you do not have enough time to complete the first chain of spirals.
After a brief wait, the next Field of Light buff spawns in the next section. If the Tormentor is still alive, kill it now to extend your timer. There will be an additional spiral in this section. There are two additional sections after the first two. Every section adds a spiral. You can have one or two runners to complete the spirals. However, do not shoot the main orb if someone has Field of Light. If you do, the nodes will disappear. They will only appear seconds later.
Root of Nightmares: First Traversal Section
After completing the encounter, a bridge will spawn in front of the chest. Follow the bridge to the now-open door. Follow the path until you drop onto a root. Run through until you reach a gap. There is a lift that will push you across. Shoot the Crux in front of you to activate the lift. It can be finicky sometimes, so be prepared for it sending you in weird directions. Keep following the path past numerous enemies and crossing gaps. After traversing long roots and heading through a door, you will reach the second encounter.
Root of Nightmares: Scission
The second encounter will see the Field of Light buff return. In addition to the Field of Light, there is the Flux of Darkness. It works identically to the Field of Light. The path for this encounter is vital. Assign two players to each buff. One player on each side must cross, while the other always stays on the same side. Cross the gap, either with the lifts or forms of mobility. The players crossing will swap between the buffs that they take. The other two keep the same buff. Always communicate once you have shot the spiral to prevent the spirals from disappearing.
For each floor, there is an imminent expulsion timer. If it reaches zero, the walls extend and knock everyone off. The spirals will always start with the crossing player. From there, it will alternate between the players. The non-runners can always jump into the fields to get the respective buffs when the runners do. You need the Field of Light and Flux of Darkness buffs to kill specific enemies on each side. Once you complete both sides, the timer will stop.
Additional Cabal enemies spawn that require you to have one of the buffs to kill. Have the three players on each side gain the buff and kill all the enemies. Once you kill all the enemies, a Crux will spawn in front of the lift. Take the lift to the next floor. The mechanics are the same for the second floor. Start once everyone is ready. The second floor takes you in the opposite direction. There will be one more floor before the encounter ends.
Root of Nightmares: Second Traversal Section
Travel up the root above the chest into a room with more of the buff bubbles. Complete each spiral chain to open the door. Run through until you reach a large room. This section will teach you another vital part of the raid. If you have one of the buffs, run up to the other bubble and shoot the orb; it will grant you a refuge buff:
- Taking the Field of Light and shooting the Dark orb gives Darkness Refuge
- Taking the Flux of Darkness and shooting the Light orb gives Light Refuge
For the traversal section of the raid, you will need Darkness refuge. At various points, a dark bubble spawns that covers the entire area. If you do not have Darkness Refuge, you will die. Use the lifts to cover the gaps, and get Darkness Refuge as you cross. You will reach a door that everyone needs to be at for it to open. Keep moving through, following the path until you reach one final door. Once everyone is there, the door opens. Proceed forward until the third encounter.
Root of Nightmares: Zo’Aurc, Explicator of Planets
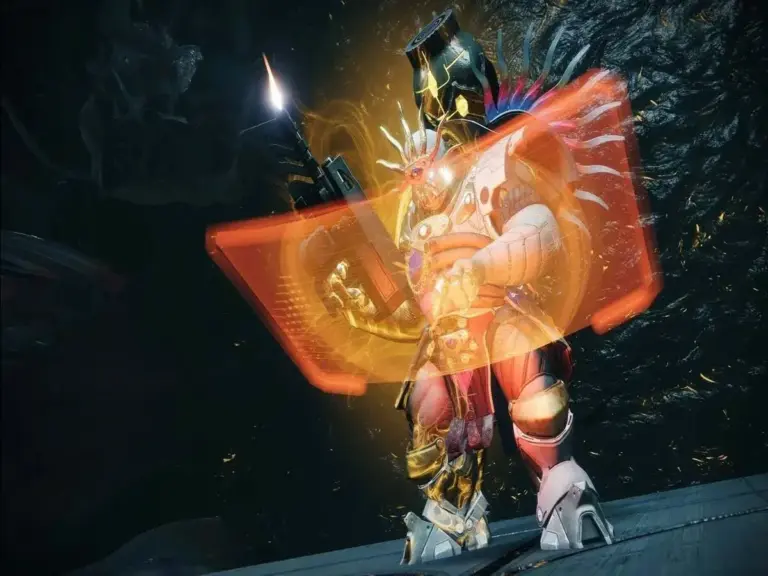
The third encounter has no similar mechanics to the previous ones. In this encounter, there are four plates; assign one player to each plate. The other two players should focus on clearing enemies.
The Plates
Each plate has three planets, one on each corner. You can name the planets how you wish. We choose to name the plates with directions. For us, the plates are:
- Left
- Top
- Right
After a Centurion dies, two Colossus Spawn, one on each plate, corresponding to the side that died. The player who kills the Colossus gets the Planetary Insight buff. The buff allows you to do two things:
- Interact with the Planets
- See the different glows of the planets
Of the three planets on each plate, two will have the same glow. The right side plates will have two dark and one light. The left side plates have two lights and one dark. Your objective for this encounter is to swap the incorrect planets. The players on each side will interact with the incorrect planet and call it out to their partner. Your partner is the player on the opposite side of you.
- Top plate players together
- Bottom plat players together.
Listen to where your partner said the incorrect planet is. Deposit the planet there. If both teams swap correctly, a message will pop up, “The Indexed Planets Reveal themselves. You can now move on to phase two.
Starting DPS
More Centurions spawn. Kill them to spawn the Colossus. After killing the Colossus, you will now see three planets in the middle. Two will have the same glow, one will have the opposite glow. Depending on which glow each planet has, have a player from the plates take a buff and run underneath that planet to deposit. For example:
- Right and Left planets glow dark
- The middle planet glows with light
- Two players from the right side take one buff each to the right and left plates
- One player from the left side takes the buff to the middle plate
If done correctly, the damage phase starts soon.
The Damage Phase
For damage, standing on the plates gives you a buff to deal damage to the boss. The order you stand on the plates is important. Always start on the plate that has a pair. Using our previous example:
- You will start damage on the left plate
- After that plate buff ends, move to the middle plate
- The right plate will be your final plate
After using all three plates, the damage phase ends. If you do not reach the Final Stand, repeat the process.
The Final Stand
The boss will become invulnerable for a brief duration. Have all your players stand on a plate and deal damage to the boss. If a plate runs out, move to the next one until the boss dies.
Root of Nightmares: Third Traversal Section
After the boss dies, a chest spawns, and the door opens at the back of the room. Run through it, and there will be another small section with the spirals. Complete it and run through. Run across the platforms until an area with twisting stairs. Run up all the way and across past Cabal enemies. You will reach an area with multiple doors, run through the second door to the right. Jump up to a few platforms until you reach another root. Run across the root and jump up. Cross the final root to reach the final encounter.
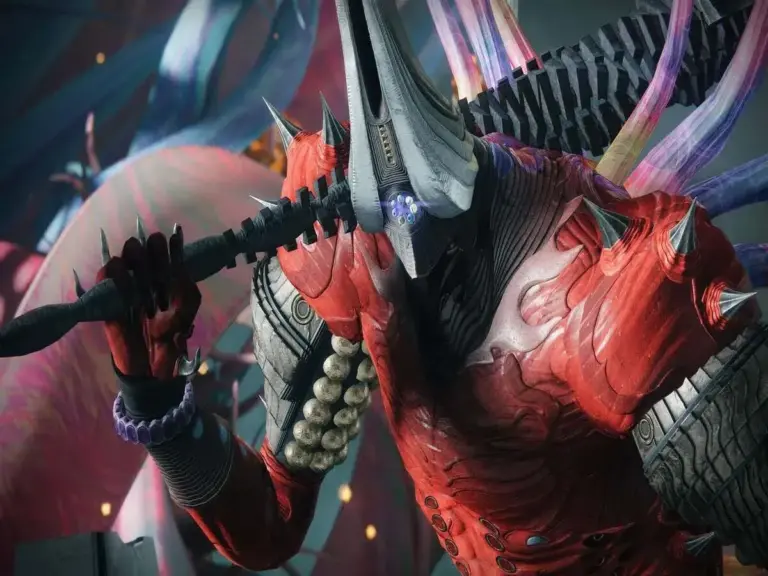
Root of Nightmares: Nezerec, Final God of Pain
The spirals return for the final encounter. Nezerec is your final boss. He has emerged from his crystal. There are two sets of spirals, one on each side. The left side is light, the right is dark. Assign one player to each spiral. A third player should focus on taking Nezerac’s attention. The spirals work as before. They stay on the same side and complete them. The third player has a vital role. They must shoot Nezerac’s shoulders to gain his attention. Breaking his shoulders prevents him from knocking your teammates in the air. After that, the player must shoot his chest. Breaking the chest causes a colored explosion.
- Orange explosion – Darkness Refuge
- Light explosion – Light Refuge
You will need to create a refuge to prevent players from dying to the boss’s explosion. Anyone can create the refuge, but do not disrupt the spirals. If you are fast enough with the spirals, you will not need the refuge. Usually, for the first rotation, you have enough time, but you will not for the subsequent rotations. After completing both spirals, prepare for the damage phase.
Have everyone gather on one of the petals. After a brief duration, the damage phase starts. If you do not cross the Final Stand threshold, repeat the process. Otherwise, Final Stand is simple. He becomes invulnerable for a short period. Eventually, he becomes vulnerable again. Kill Nezerac before he wipes you, and complete the raid.
More must-reads:
Breaking News
Trending in Entertainment


Customize Your Newsletter
 +
+
Get the latest news and rumors, customized to your favorite sports and teams. Emailed daily. Always free!

PRIVACY POLICY COOKIE POLICY CONTACT US
ABOUT YARDBARKER TERMS OF SERVICE
By using this site, you agree to our Terms of Service and Privacy Policy.
This site is for entertainment purposes only.
There is no gambling offered on this site.
Gambling Problem? Call 1-800-Gambler.