-


Follow Us

If you thought Elden Ring had run out of ways to make you question your life choices, the Nightreign expansion would like a word. Specifically, the Everdark Sovereign Sentient Pest is a boss battle that starts as a chaotic duo and quickly spirals into a three-ring circus of pain. This isn’t just a fight; it’s a test of your sanity. When you first step into the arena, you’re greeted by Gnoster and Faurtis. It feels manageable, almost familiar. “I’ve fought two bosses at once before,” you’ll foolishly tell yourself. But just as you start getting cocky, a spectral nightmare named Animus joins the party, reviving its fallen friends with souped-up attacks. Suddenly, that confidence evaporates. You learn very quickly that this battle is less about elegant strategy and more about surviving sheer, unadulterated chaos. One wrong move, and that orbital laser will send you back to the last Site of Grace faster than you can say “You Died.”
Elden Ring Nightreign: The Sentient Pest Boss Fight That Breaks Your Spirit and Burns Your Sanity
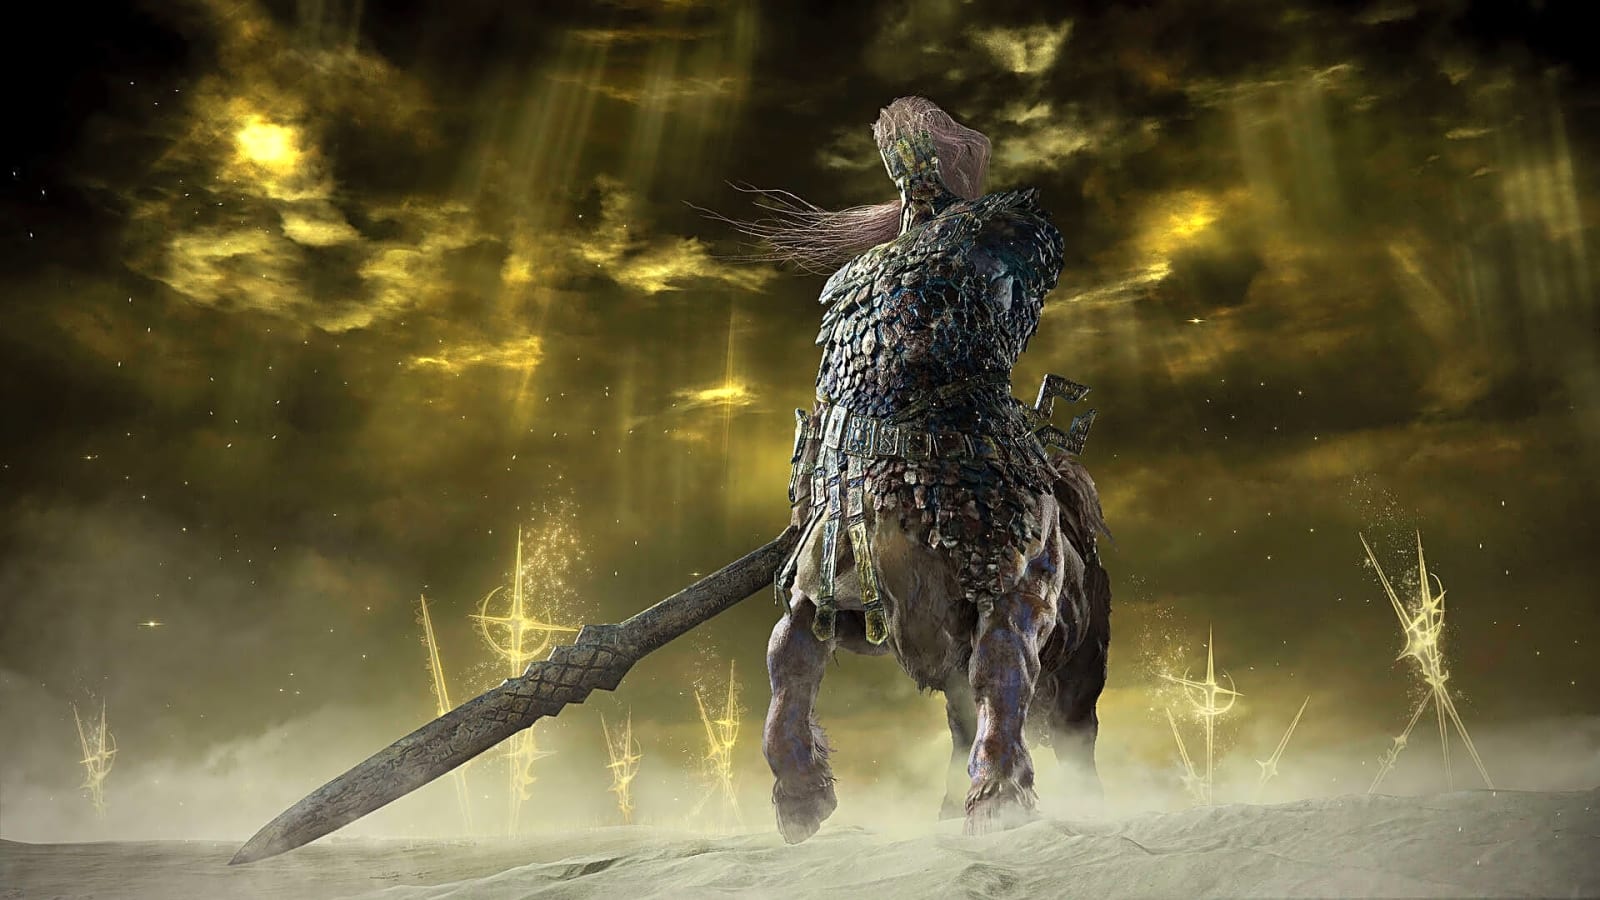
Source: VYZ’s YouTube video Gnoster, Wisdom of the Night | Elden Ring Nightreign | Solo Bossfight |4k HDR
Source: VYZ’s YouTube video Gnoster, Wisdom of the Night | Elden Ring Nightreign | Solo Bossfight |4k HDR
Understanding the Battle: Weaknesses and Resistances
Let’s get one thing straight: fire is your best friend in this battle. Both Gnoster and Faurtis treat Holy and Lightning damage like a gentle breeze, and the Moth boss practically scoffs at Magic. While status effects like Rot, Bleed, and Frost are decent, nothing melts their health bars quite like a good old-fashioned inferno. If you’re running a build that can stack Bleed and Frost, you’re in for a good time; the burst damage is incredibly satisfying. But seriously, get a fire weapon. It’s not optional if you value your time. Trust me, showing up to this battle with a fire weapon is the difference between a grueling ordeal and a manageable challenge. Even if you don’t use it, keeping a passive fire weapon in your off-hand can provide a helpful stat bump. Farm Encampments: You can find flame-infused gear by clearing out these areas. Shifting Earth Events: Switch these to the Crater setting for a shot at Legendary fire weapon upgrades.Phase 1:
The battle between Gnoster and Fautris, lucky you, you get to face not one, but two bosses right off the bat. It feels a bit like Gnoster’s original second phase, but on steroids. Faurtis is like a bull in a china shop, charging at every turn while Gnoster hangs back, spamming homing projectiles that can create deadly crossfire. So, while dodging all the incoming hellfire, you have the pleasure of also dodging a raging bull with murderous intent. Oh! And the best part? This is only Phase 1. One of the nastiest parts of phase 1 is the ground slam attack, which will stop a player’s run before it even begins if not dodged. For all the ranged players, your time has come. You should focus all your energy on Gnoster. With a decent fire weapon, you can potentially burn him down before he gets a chance to unleash his signature orbital laser. And you really want to avoid that laser. It locks onto you and fires a sustained beam of pure death, forcing you into a series of panic rolls. Don’t even think about hugging the boss’s flank to avoid it; he’ll just slam you into oblivion.Phase 2: The Animus Apocalypse Battle
Source: VYZ’s YouTube video Gnoster, Wisdom of the Night | Elden Ring Nightreign | Solo Bossfight |4k HDR
Source: VYZ’s YouTube video Gnoster, Wisdom of the Night | Elden Ring Nightreign | Solo Bossfight |4k HDR Just when you think you’ve got a handle on things, Animus appears, and the real battle begins. This spectral pest revives both Gnoster and Faurtis at 50% health. Animus itself is mostly passive, but it has one empowered orbital laser that hits like a freight train. Here’s where things get tricky. Animus will possess the corpse of a fallen boss, bringing them back with new, explosive attacks. Animus teleports to a downed boss. While it’s in the possession animation, unload everything you have. Animus takes chip damage during this phase. He will return with 50% health! Your best strategy is to ignore the possessed boss and focus on the unpossessed one. Once only one enemy remains, turn your attention to the possessed foe. Every hit on them also damages Animus. When Animus is floating around between possessions, it’s the perfect time to nuke Gnoster with fire spells while your tank keeps Faurtis busy. Two solid rotations of this should be enough to take down this ghostly menace for good.
Rewards: Was the Battle Worth It?
Surviving this chaotic battle nets you Relics, Murk, and 25 Sovereign Sigils. The real prize of the encounter is the relic drop. Dark Night of the Wise relic is a game-changer for magic wielders. The relic increases your max focus points, restores focus points on successive attacks, and grants permanent boost to your focus points after triggering Sorcerer’s Rise. It changes the way spellcasters handle their resource management. It’s a sweet reward for enduring one of the expansion’s most frantic encounters.Visit Total Apex Gaming for more game-related news.
More must-reads:
- Tigers pull one-time All-Star pitcher off rehab assignment
- Browns GM explains drafting of Shedeur Sanders after Dillon Gabriel pick
- The 'NFL sack leaders since 2015' quiz
Breaking News
Trending News


Customize Your Newsletter
 +
+
Get the latest news and rumors, customized to your favorite sports and teams. Emailed daily. Always free!

PRIVACY POLICY EDITORIAL POLICY CONTACT US
ABOUT YARDBARKER TERMS OF SERVICE
Use of this website (including any and all parts and
components) constitutes your acceptance of these
Terms of Service and Privacy Policy.
This site is for entertainment purposes only.
There is no gambling offered on this site.
Gambling Problem? Call 1-800-Gambler.