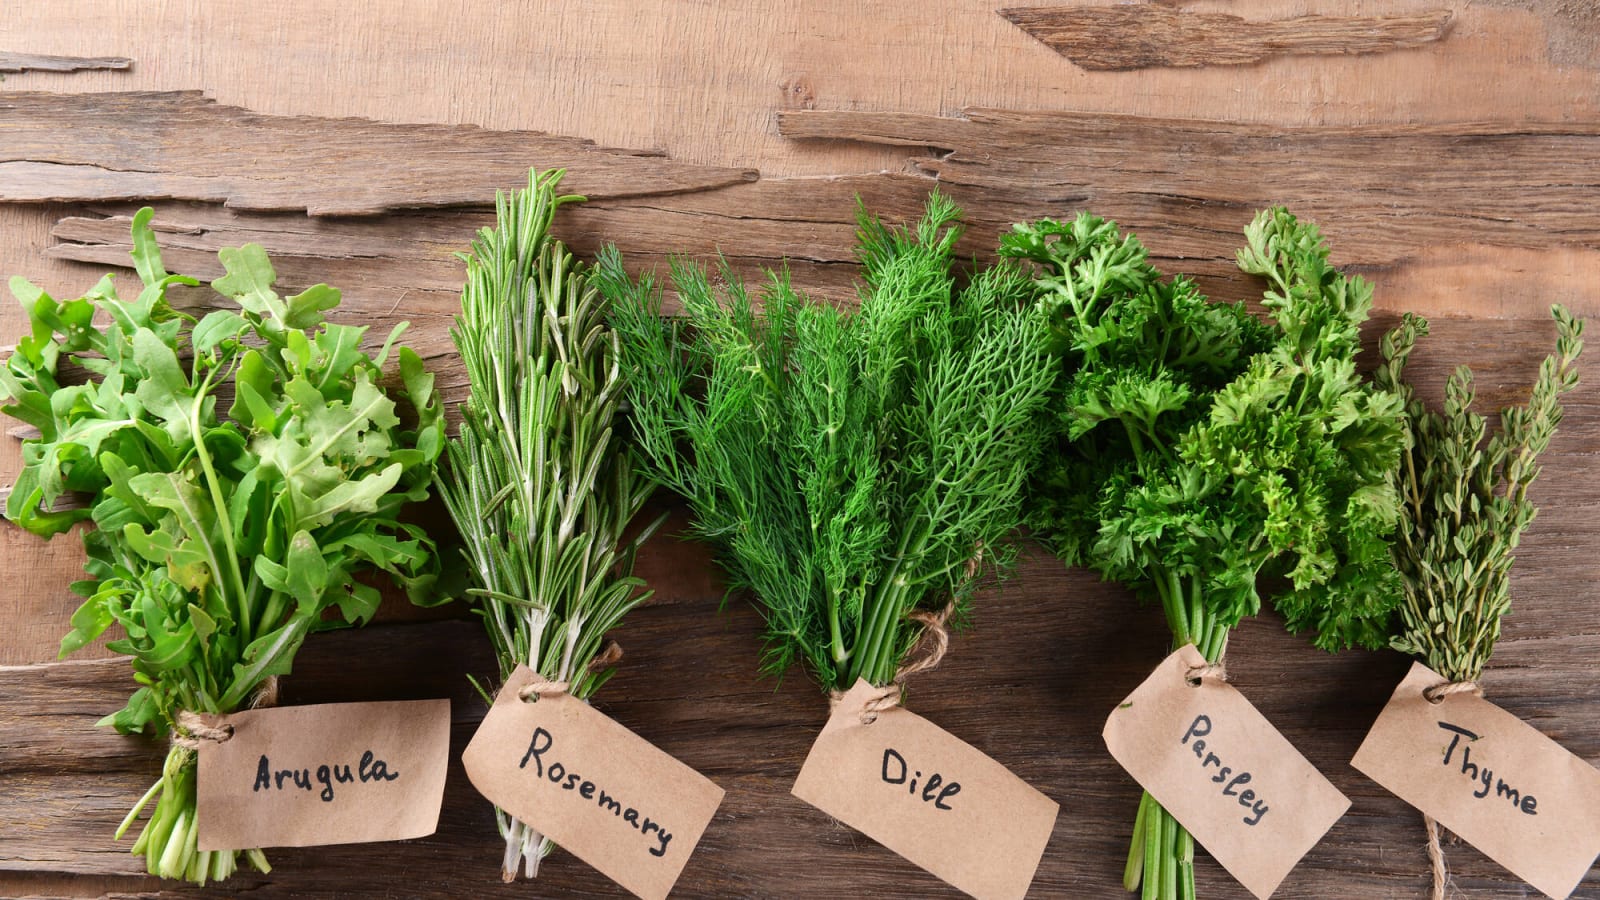
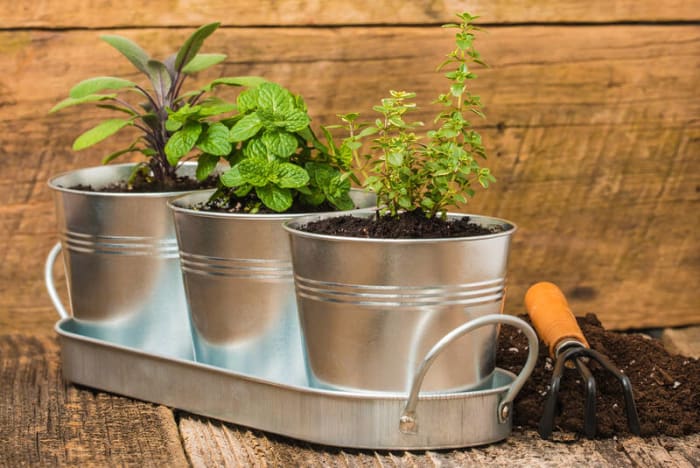
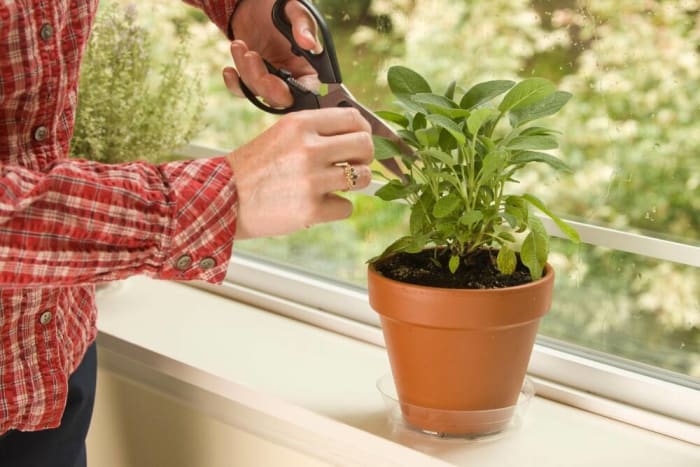
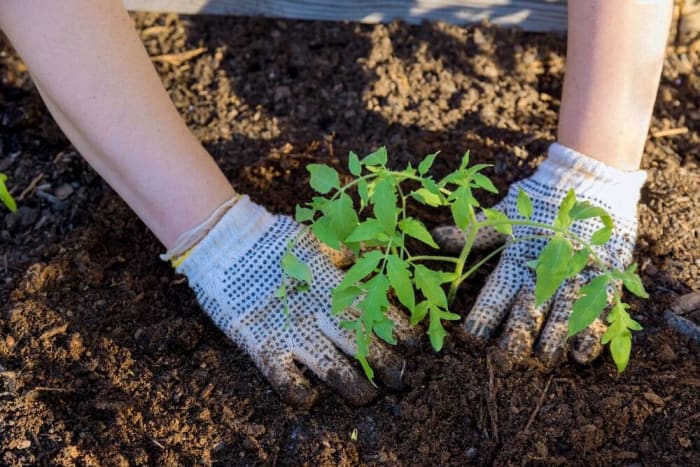
20 tips for growing a thriving herb garden
Whether it's because you're tired of paying top dollar for those tiny plastic clamshells of herbs at the grocery store or simply looking to grow more of your own food, an at-home herb garden is a great way to dip your toe into the gardening world.
Flip through the slideshow for 20 tips for a thriving herb garden, from when to plant and how to prune to preserving your harvest for the colder months.
Start small
Though it can be tempting to want to grow all the different herbs you love, sticking to a few at first will help you get the hang of growing your own herbs without resulting in many garden casualties. Try three or four plants first, then add to your fledgling herb garden.
...and stick to easy-to-grow herbs
In general, herbs are pretty easy to grow, but some are easier than others. Basil, cilantro, chives, and mint are all popular choices for beginners, and they're all very affordable and accessible.
Make sure your plants have plenty of sun
Herbs need a ton of sun to thrive, so you'll want to make sure that your plants are getting at least 5-6 hours of sunlight per day. Find a particularly sunny spot on your patio, or fill up your windowsill with pots for an indoor herb garden.
Use well-draining soil
Herbs are happiest in well-draining soil, which ensures that their roots get plenty of oxygen and are less susceptible to root rot. Classic potting mix is a good choice, with peat moss, bark, and perlite to keep your growing plants totally aerated.
Don't be afraid to cut back your herbs
Once your herbs finally get growing, don't be afraid to cut them back! Herbs that are "leggy" or "gangly" will use too much energy producing long stems and not enough to make a bunch of those tasty leaves that make your dinner more delicious.
Consider an AeroGarden
If you have limited space or simply lack a green thumb, an AeroGarden can take a lot of the guesswork out of herb gardening. Using water, nutrients, and specialized pods to grow a surprisingly bountiful array of herbs, this self-contained gardening system is excellent for beginners.
...or a DIY container garden
If you don't want to splurge on an AeroGarden, a DIY container garden is also a great way to start your herb journey. This 10-minute DIY tutorial uses a utensil caddy, potting soil, and starter plants for an easy herb garden that won't take up a ton of space.
Use starter plants, not seeds, for better results
Growing herbs from seed is one of those things best left to more experienced gardeners. Not only are starter plants, or small seedlings, easier to grow, they also mean less time between planting and when those tasty herbs are on your table.
Beware mint, which will spread all over your garden
Mint is among the wiliest of herbs, with an incredible ability to make its way into pretty much every crevice of your garden. If you don't want it to take over, keep your mint in containers or plant its roots in pots in the ground. And still, get ready to find mint growing in some really weird places in your backyard.
Plant perennials
Perennials are plants that will come back every year, which means that you'll (hopefully) only have to plant them once. Mint, oregano, and rosemary are all perennials, but parsley and dill will have to be replanted every year (or every other year, depending on the species.)
Make sure your herb garden stays warm
Herbs like it warm. Wait until it's at least 70 degrees during the day to plant your herbs, and unless temperatures are truly scorching, keep them in the warmest, sunniest spot on your patio or garden.
Learn how to properly water your herbs
Herbs only need to be watered once a week or so, but that can change depending on the temperature and humidity of where you live. A good rule of thumb is to stick your finger in the pot's soil about an inch deep or so, and if it feels dry, add water.
Try propagating herb cuttings in water
Growing herbs from seed can be tough, but propagating them is decidedly easier. Just take a cutting from a mature plant, maybe a tall and bushy basil plant, right below a leaf node, then stick it in potting soil and wait until the magic happens.
Use the right fertilizer
Though every gardener has their own thoughts on the "best" fertilizer, the general consensus is that fish-based, or seaweed-based fertilizers are best for herb plants because of the nutrients that they contain. If you compost at home, your herb plants will also probably do well with a sprinkle of compost on top.
Learn about "bolting," and when to harvest your herbs
When it gets really hot, some herbs "bolt," or produce seed pods that indicate that it's about to die. If you see seed pods on your plant, it's time to harvest your herbs. Otherwise, many herbs can be harvested throughout their lifespan, including basil, chives, and mint.
Keep pests away naturally
Thanks to their potent scents, many herbs have natural pest-repelling properties. But if you do find mealy bugs or other unwanted creatures on your herb plants, stick with natural remedies like neem oil to avoid ingesting pesticides.
Consider growing indoors if you don't have much outdoor space
If you don't have room for a full herb garden, consider growing indoors. You'd be surprised what you can accomplish with a simple windowsill garden, especially if you live in an apartment or otherwise have limited space to grow.
Invest in good shears for snipping herbs
Harvesting your herbs is a big part of the fun of herb gardening, and you'll need good shears. Kitchen shears are great for this purpose, because they're strong enough to cut through woodier herbs like rosemary but delicate enough for tender chives or mint leaves.
Plant exotic herbs to make your garden more interesting
Don't just grow the basic parsley, sage, rosemary, and thyme! If your climate can handle it, try herbs from all over the world, like pineapple sage, or shiso, or perilla leaf, or lemon balm.
Don't forget to preserve your bounty for the winter
Once your herb garden really gets growing, you might be surprised at how bountiful your harvest is! If you find yourself with a ton of basil, simply dry it out overnight in a dehydrator or your oven's lowest setting to keep the flavor going all year long.
More must-reads: