-


Follow Us

And for today’s offerings, we have 3 bosses who are, for the most part, fairly easy to deal with, were it not for 1 common complication that they all share. All 3 of the bosses below are fought in arenas that are claustrophobically small. This means that you have to be very, very, VERY aware of your surroundings if you don’t want to fall into a cycle of pain. In short, the room is more of a boss than the bosses themselves.
The Unravelled: 2nd Silk Heart Boss

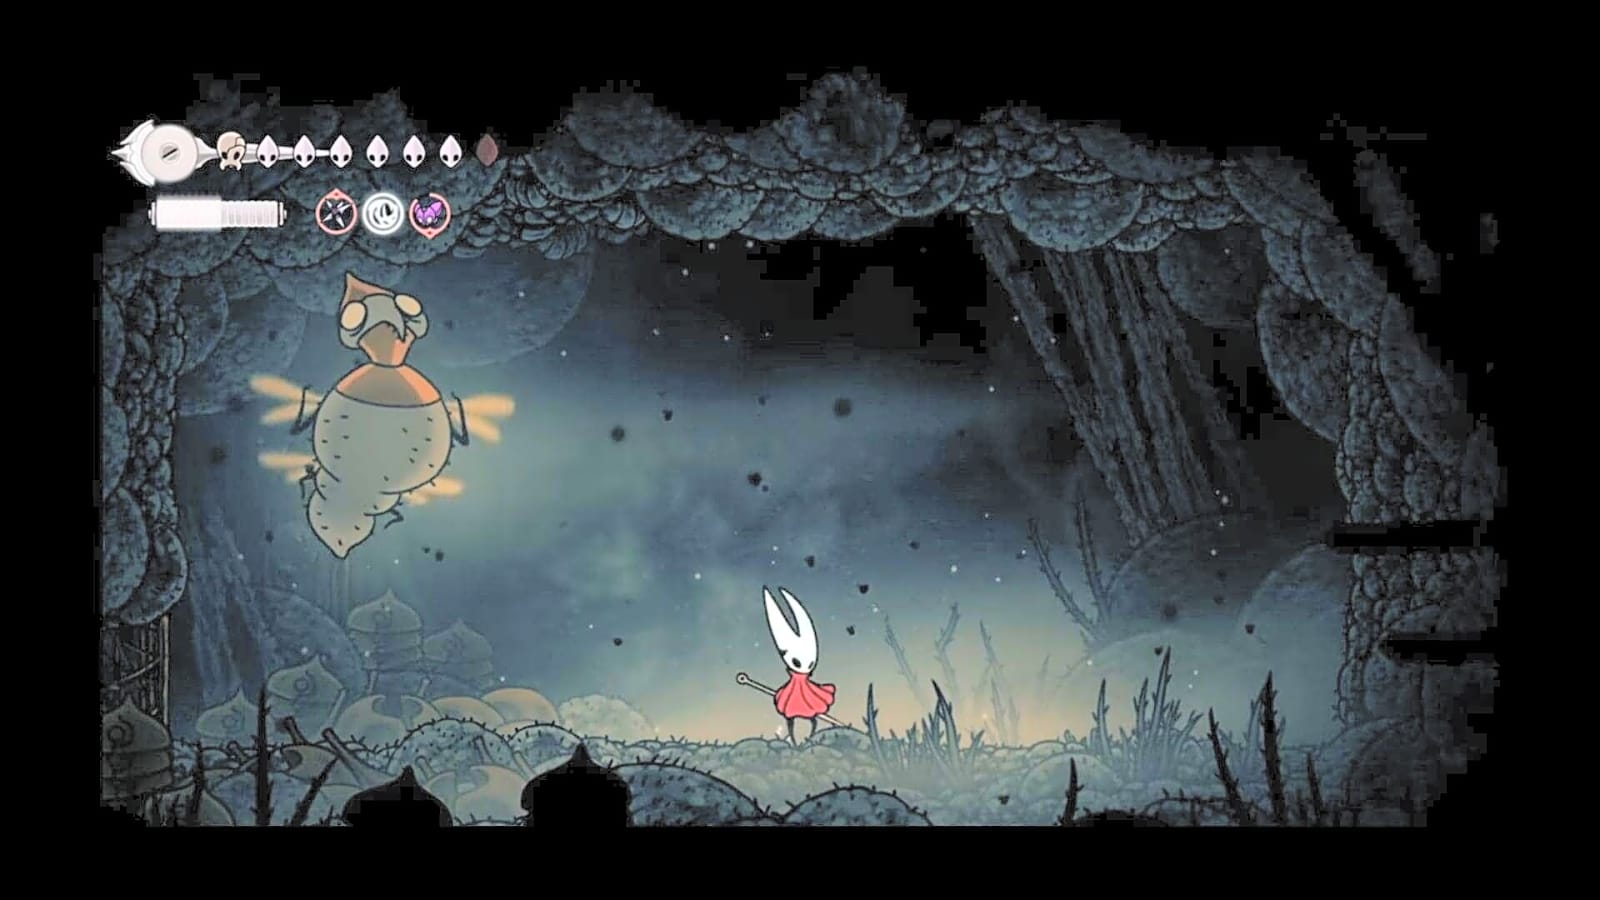
Pollop Poison plus 4 sets of Tacks set where the boss spawns, and 1 or 2 Pimpillo (depending on how well you set up your Tacks) will completely skip Phase 1. If you can repeat this process before the Unravelled spawns in for Phases 2 and 3, you’ll have a much easier time.
If you are in need of Silk, you can get in quite a few Needle attacks while the Unravelled is spewing bodies. They are, surprisingly, easier to dodge when you are up close and personal with the boss, and they only deal 1 Mask of damage, so even if you get hit, it’s worth the trade. Just be careful. Sometimes the Unravelled will dip into the ground afterward, and sometimes it will charge forward. If you want to be safe, try and take a hit from the last body and use the invincibility frames to avoid damage if the Unravelled charges.
The Architect Crest is probably the best option here. The space is so confined that Cogflies and Tacks will pretty much destroy the Unravelled for you. All you have to worry about is dodging.
Broodmother: Mad Mama Meldown
Yet another flying enemy that is completely taken apart by Tacks. Because of the Broodmother’s ability set (spit, spawns, and spasms), it’s best to keep your distance and let your Red Tools win the fight for you. If you just focus on dodging, this shouldn’t be too hard a fight.
Second Sentinel: A Friendly Fight
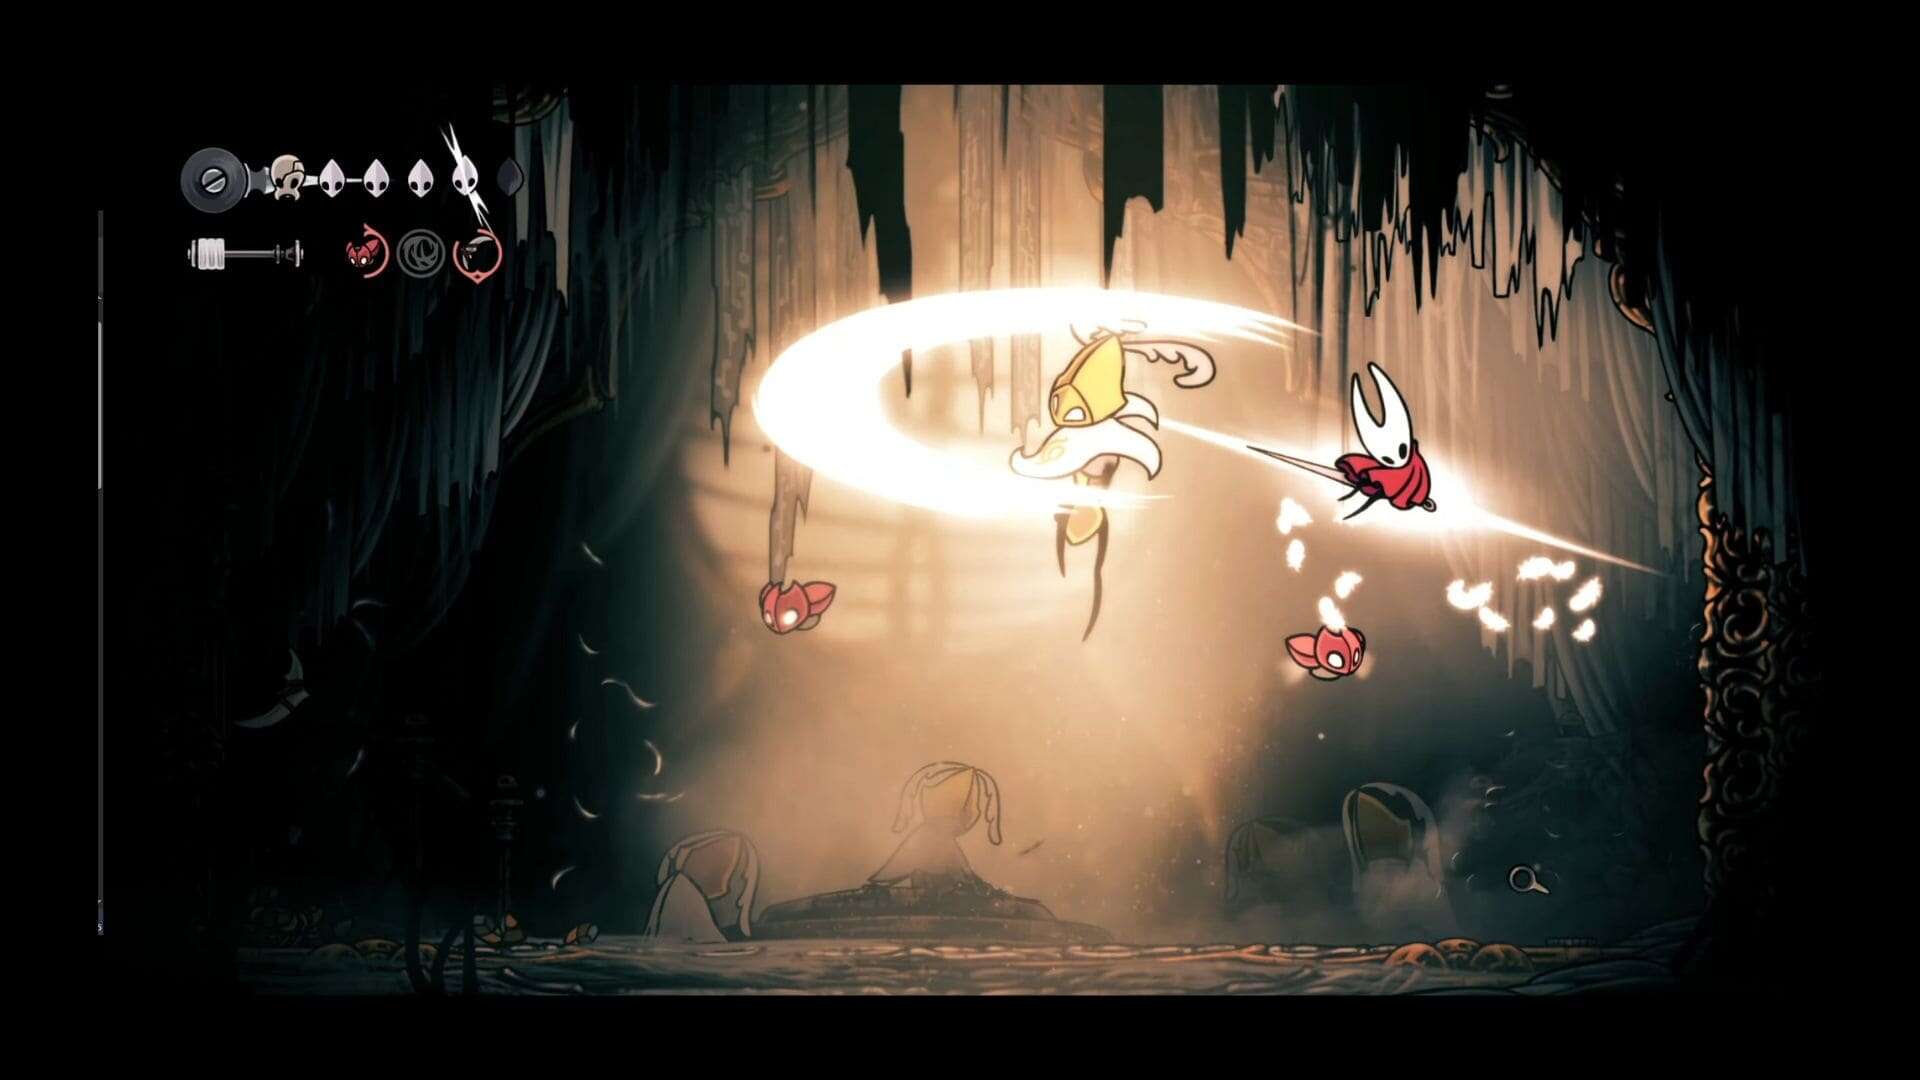
An optional fight that requires you to finish a questline to access, this boss doesn’t give you much downtime. Considering its speed and area coverage, your best option is, you guessed it, the Architect Crest. Cogflies, Tacks, and Pimpillo will make short work of this boss, while you use Cling Grip to avoid damage.
While Second Sentinel is technically optional, the reward you get is the Reserve Bind, which is very helpful for Witch, Architect, and Beast builds, so I would suggest fighting it.
More must-reads:
- Thunder’s Nikola Topic undergoing treatment for testicular cancer
- Why Penn State should root for an early end to Texas A&M's season
- The 'NFL passer rating leaders' quiz
Breaking News
Trending News


Customize Your Newsletter
 +
+
Get the latest news and rumors, customized to your favorite sports and teams. Emailed daily. Always free!

PRIVACY POLICY EDITORIAL POLICY CONTACT US
ABOUT YARDBARKER TERMS OF SERVICE
Use of this website (including any and all parts and
components) constitutes your acceptance of these
Terms of Service and Privacy Policy.
This site is for entertainment purposes only.
There is no gambling offered on this site.
Gambling Problem? Call 1-800-Gambler.