-


Follow Us

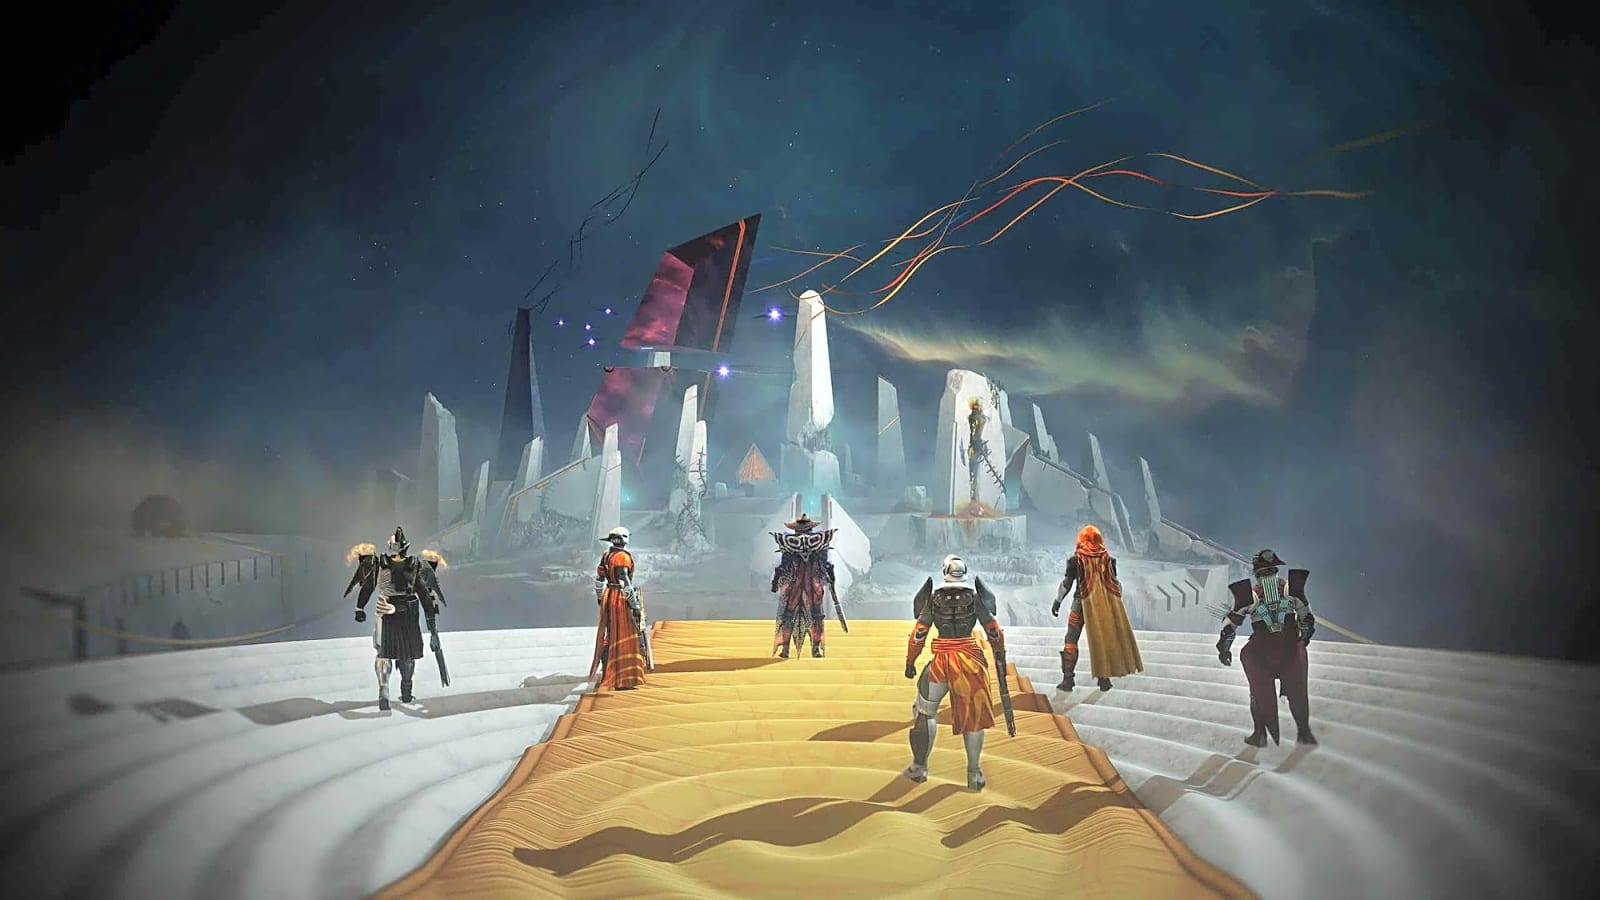
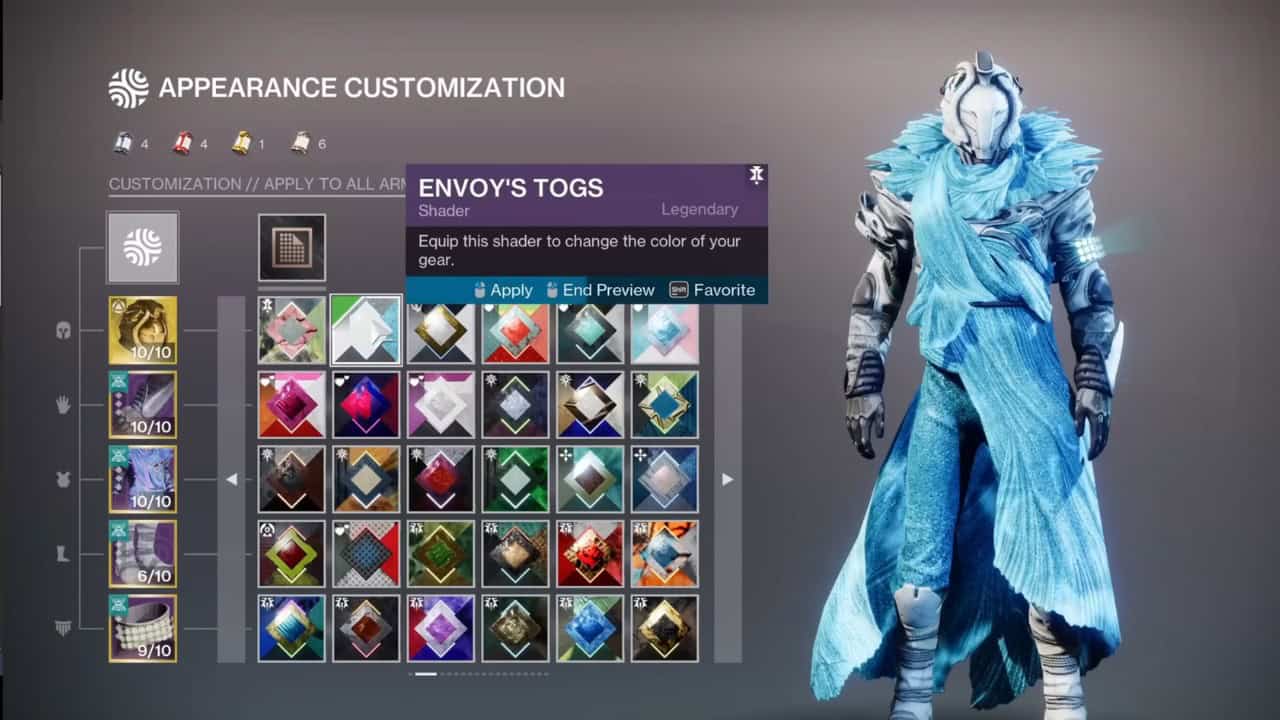
Destiny 2 layers pick up the Map and Territory quest from Dean Rebecca before heading into the Desert Perpetual Raid. The quest requires players to find twelve anchor points throughout the Desert Perpetual raid. Once completed, players will earn the Envoy’s Togs shader, which you can apply to your armor and weapons. The shader is predominantly white, with blue and black accents. You can look like the Emissary in Destiny 2.Visit Site
Destiny 2: How to Acquire the Envoy’s Togs Shader
The first step of the Map and Territory quest is to complete the raid. After that, you must search the raid for twelve anchor points. Each one you find gives you additional lore. Below is a guide to each anchor point within the raid. The order does not matter. Do not activate any doors to encounters before you have picked up the anchors outside of them.
Anchor 1
Head to the tower where you choose the encounters. On the left of you, there is a pillar with your first anchor.
Anchor 2
Heading towards the Hobgoblin boss across the bridge on the far right, you will see a ball lying in the sand. Make your way to the ball, and lying next to it is your second anchor.
Anchor 3
Return to your spawn location. Underneath, you will see the third anchor point.
Anchor 4
En route to the Hobgoblin, hug the right side of the path. About halfway through your traversal, you will spot your fourth anchor.
Anchor 5
Before you activate the door for the boss, head to the right side of the door. Here you will find the fifth anchor.
Anchor 6
Complete the Hobgoblin encounter. After you kill the boss, head to the left of the door, past one of the boss platforms, to place your sixth anchor.
Anchor 7
Make your way to the Hydra encounter. On the far right side of the section, you will see a tower. At the top of this tower is the seventh anchor point.
Anchor 8
From your previous position, you will notice half-circle platforms leading to the Hydra encounter. The one closest to the door has the eighth anchor.
Anchor 9
Kill the Hydra Boss. In the back of the arena, underneath the tent, is your ninth anchor point.
Anchor 10
As you move to the Wyvern boss, go to the right side orb. Jump inside, and you find the tenth anchor in the middle of a spiral pattern.
Anchor 11
Similar to the anchor outside of the Hobgoblin, the eleventh one is on the right side of the door. You do need to walk a bit past the door to find it.
Anchor 12
The final anchor appears behind the loot chest after defeating the Wyvern encounter.
Final Step
Once you have acquired all of the anchors, head to the Maya Sundaresh state in the final boss arena. Once you interact with it, you will have the Envoy’s Togs shader.
More must-reads:
- Yankees quickly pull plug on key trade-deadline acquisition
- Kyren Williams contract extension with Rams a win for both sides
- The 'MLB playoff home run leaders' quiz
Breaking News
Trending News


Customize Your Newsletter
 +
+
Get the latest news and rumors, customized to your favorite sports and teams. Emailed daily. Always free!

PRIVACY POLICY EDITORIAL POLICY CONTACT US
ABOUT YARDBARKER TERMS OF SERVICE
Use of this website (including any and all parts and
components) constitutes your acceptance of these
Terms of Service and Privacy Policy.
This site is for entertainment purposes only.
There is no gambling offered on this site.
Gambling Problem? Call 1-800-Gambler.