-


Follow Us


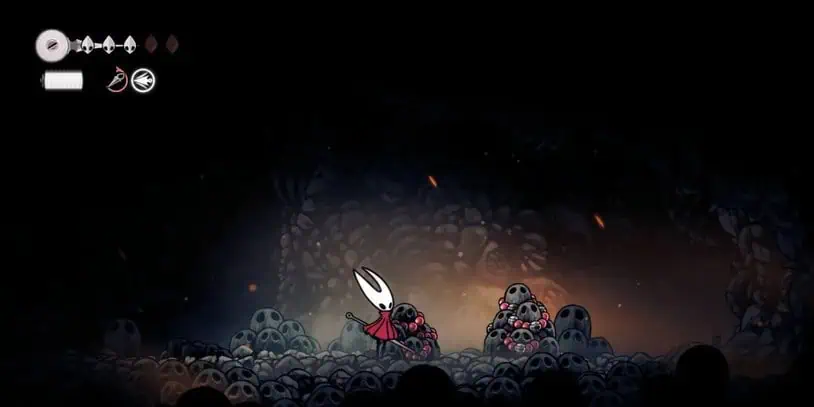
So, you’ve made it to The Marrow. Congrats! You left the quaint (and probably a little boring) Bell Bottom village, opened that big door for Sherma, and now you’re greeted by… a lake of lava. Fantastic. This charred, skeletal landscape is your new playground. Let’s dive in, shall we?
Your First Steps Into the Inferno
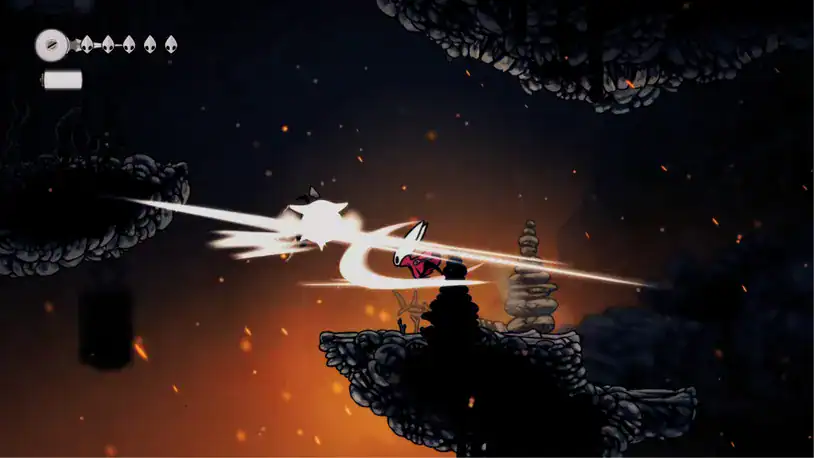
Right out of the gate, you’ll be greeted by some local wildlife—skull bugs and their flying friends. Show them Hornet’s usual hospitality (a sharp needle should do the trick) and start hopping across those platforms. See that wooden platform? Pull the chain to lower it. And for the love of the Pale King, watch out for the spike pits. Some platforms also get a bit shaky and decide to just… stop existing. No pressure.
After that little parkour challenge, you’ll find your first new toy: the Shard Pendant. This isn’t just a shiny necklace; it’s a utility tool you can swap out at benches. Think of it as your new loadout system.
Speaking of challenges, you’ll soon stumble into a cavern where the ceiling is apparently having a very bad day. Rocks will rain down on you, so keep moving! You’ll also meet some spiky shell bugs that explode into a shower of daggers when you hit them. Rude. Survive this and you’ll nab a Frayed Rosary String.
Finding Friends (and Quests) in Fiery Places
Keep an eye out for suspicious-looking walls. One of them hides a secret room with more of those delightful spiky bugs and some precious Rosary Beads. You want these. Trust me.
Eventually, you’ll meet Fleamaster Mooshka. This guy will kick off “The Lost Fleas” side quest. Seems like a bunch of fleas have gone wandering, and it’s your job to herd them back to the Flea Caravan. You’ll also run into Grishkin and Varga. Find a bench, equip that shiny new Shard Pendant, and get ready for a quick detour.
A Quick Jaunt to Mosshome
Yeah, you heard me. We’re taking a brief break from all this fire and brimstone to visit Mosshome. It’s a nice change of scenery, I guess. Here, you’ll smash some shells for Shell Shards and fight off some very aggressive pilgrims who enjoy leaping, rolling, and spitting acid. Classy.
Your little trip to the green side will be worth it, though. You’ll find:
- More Rosary Beads (score!)
- The Choral Commandment
- The Silkspear Silk Skill! A brand new move for your arsenal.
- A “Berry Picking” quest from the Moss Druid. Who doesn’t love a good fetch quest?
Before you leave, make sure to find the merchant, Shakra. You’re going to want to buy a map. Seriously, don’t be a hero.
|
Item |
Cost (Rosary Beads) |
|---|---|
|
Mosslands Map |
40 |
|
The Marrow Map |
50 |
|
Quill |
50 |
|
Compass |
70 |
|
Beach Pins |
60 |
|
Shell Marker |
40 |
Boss Fight: The Bell Beast
Alright, back to the main event. Deep within The Marrow, you’ll find a massive arena littered with bells. You know what that means. It’s boss time! The Bell Beast will come charging out of the ground, and it’s not happy to see you.
This fight is a dance. Here’s the rhythm:
- When it charges along the ground, greet it with a dive attack from above.
- After it leaps through the air, get in close and slash away.
- Dodge the chimes it knocks down from the ceiling. They hurt. A lot.
Defeat this noisy nuisance, and you’ll be rewarded with the Silk Heart, a nifty little item that regenerates a single spool of silk. Absolutely worth the trouble.
Cleaning Up at the Wishwall
With the Bell Beast silenced, you can head over to the Bone Bottom Wishwall. Talk to Flick and get ready to juggle a few more quests. You can now donate 200 Stone Shards to the “Bone Bottom Repairs” effort and start collecting 12 garbs from those pilgrim enemies for the “Garb of the Pilgrims” quest. Happy hunting! You’ve officially conquered The Marrow. Now, onto the Deep Docks!
More must-reads:
- Jose Mourinho returns to Benfica: A full circle moment for the 'Dark Lord of Football'
- Scout identifies key issue behind Arch Manning's underwhelming start
- The 'Switch-hitter single-season HR leaders' quiz
Breaking News
Trending News


Customize Your Newsletter
 +
+
Get the latest news and rumors, customized to your favorite sports and teams. Emailed daily. Always free!

PRIVACY POLICY EDITORIAL POLICY CONTACT US
ABOUT YARDBARKER TERMS OF SERVICE
Use of this website (including any and all parts and
components) constitutes your acceptance of these
Terms of Service and Privacy Policy.
This site is for entertainment purposes only.
There is no gambling offered on this site.
Gambling Problem? Call 1-800-Gambler.