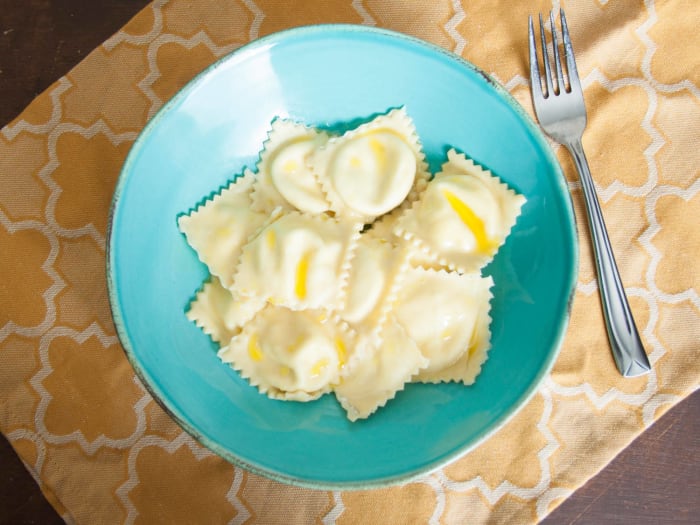
Making homemade ravioli is a win-win. Not only does it taste fantastic, but serving it at your next dinner party will make you look like an expert chef. Even if you’re only cooking for yourself, the flavor of fresh pasta makes the whole experience absolutely worth it.
It may seem daunting at first, but making ravioli from scratch is actually quite simple if you follow the instructions. Although this slideshow isn’t a step-by-step recipe (but includes a couple), it offers 20 tips and tricks to help you make your meal and will assist in troubleshooting any issues that may occur. With that, let’s get started!
1 of 20
Gather your recipes
Niki Achitoff-Gray / SeriousEats
2 of 20
Make the filling first
WhitneyBond.com
After acquiring the best recipe, you shouldn’t just jump in to the prep all willy-nilly. First start by making the aforementioned filling, since it’ll need to chill for a bit anyway (about 30 minutes, depending on the type), and there’s no point in wasting valuable time. We know you’re busy.
Gina Ferazzi/Los Angeles Times via Getty Images
If you want especially flavorful ravioli (trust us, you do), don’t be afraid to over-season your filling. After all, the pasta exterior will end up slightly diluting the flavor, so you can go a little nuts (but not too much) when prepping the interior portion. If you’re concerned about eating raw or undercooked eggs and/or meat while sampling, zap a bit in the microwave or cook it in a nonstick pan before tasting.
4 of 20
What can brown do for you?
Andrew Francis Wallace/Toronto Star via Getty Images
Although some pasta purists might tell you to refrain from cooking meat that will be used as filling, most chefs recommend lightly browning it just to make sure the meat is cooked to perfection and to avoid the risk of illness from undercooked meat. If you find the meat is especially greasy after browning, feel free to drain some of the fat, but not too much, as you don’t want to lose all the flavor.
Fairfax Media via Getty Images/Fairfax Media via Getty Images via Getty Images
When selecting your dough ingredients, all-purpose flour is generally fine — after all, it does say “all-purpose” right on it. However, some chefs are sticklers when it comes to the type of flour and insist pasta only be made with semolina flour, which is made from durum wheat. If you want to get even more picky, some chefs exclusively use Italian 00 flour, but let’s not get too crazy. Semolina is just fine, and as a beginner you’ll likely prefer it over all-purpose flour, as it will lead to sturdier and tastier ravioli.
6 of 20
Wait a minute (or 30)
Wodicka/ullstein bild via Getty Images
Most recipes will tell you to start rolling out the dough as soon as you finish mixing together the flour, eggs, salt and water, but many chefs advise against this. They recommend allowing the dough to sit — refrigerated or unrefrigerated, your choice — for at least 30 minutes prior to rolling it out, which should make it easier to handle. If you’re pressed for time, remember that this tip isn’t a huge deal and more a matter of preference.
7 of 20
No rolling pin? No problem!
PickMyTrends.com
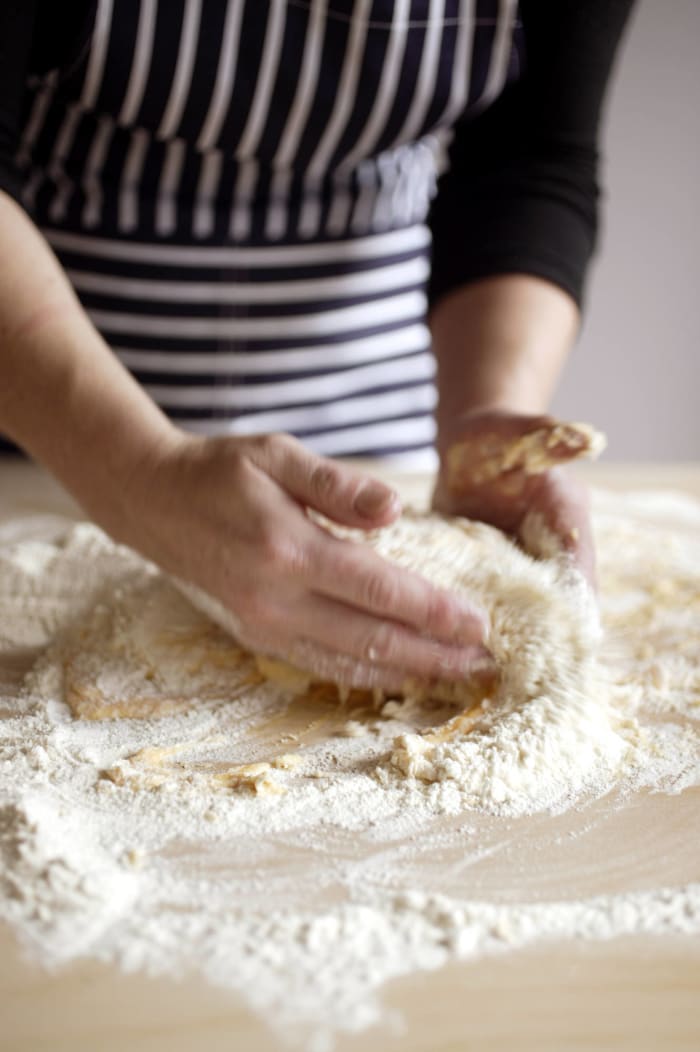
After thoroughly kneading the dough for five to 10 minutes, you’ll need to flatten it out with a rolling pin. Don’t have a rolling pin? No need to whine, especially if you have wine! In a pinch, you can simply use a full, unopened bottle of wine in lieu of a pin. (We know it’s hard to resist opening that bottle, but just hold off for a bit.) Liquor bottles work too, as long as they are generally full and the cap is securely tightened.
8 of 20
Spare some change
Holly Hildreth / Contributor / Getty Images
Exactly how thick the dough should be when rolled is still hotly debated, but the general consensus is either 1/8 or 1/16 of an inch, so shoot for that during your ravioli prep. Don’t have a ruler handy? Don’t worry, as our founding father, George Washington, has you covered. A U.S. quarter is approximately 1/16 of an inch thick, so you’ll want your dough to have the thickness of one or two quarters — no more, no less.
9 of 20
Keep your darn dough damp
DeAgostini/Getty Images
If you find your dough is drying out during the rolling process, try working with half — or even a quarter — of the dough at a time. While you’re rolling, keep the rest under plastic wrap, or at least a kitchen towel, until you’re ready to work it. With each batch of ravioli you complete, be sure to keep these covered as well.
10 of 20
What’s the right amount?
Jessica Rinaldi for The Boston Globe via Getty Images
When choosing the right amount of filling per pillow, a tablespoon has always been the standard amount. While this generally works fine, it will inevitably vary by the exact size of dough you personally use, and you’ll quickly realize whether you need to be using a bit less filling or a bit more. Once you get the hang of it, feel free to speed up the process by using a pastry bag — or, if you don’t have one, cut the corner off a zip-lock bag to make a makeshift version.
Barbara Davidson/Los Angeles Times via Getty Images
If your filling seems too runny, cover it back up with plastic and chuck it in the fridge for as long as a couple hours. We know you’re eager to start stuffing your ravioli, but runny fillings can turn the sealing process into a fiasco and will sabotage your end product. So take a load off and don’t rush.
12 of 20
Embrace the tools
DeAgostini/Getty Images
After rolling your dough out flat, there are a couple ways to go. If you’re especially timid (or a perfectionist), invest in a ravioli maker, which is really just a fancy name for a metal tray and mold that helps you measure the appropriate amount of filling and keeps the ravioli spaced appropriately. You could also invest in an actual machine that churns out the ravioli for you, but where’s the fun in that? Alternately, if you really want to get your hands dirty or don’t have special equipment, you can simply use a cookie cutter or even the mouth of a water glass to cut out circles for half-moon shaped ravioli. The only major difference with this last technique (other than the shape) is that you cut before you stuff.
13 of 20
Freeze the remainder
Diana Haronis / Contributor / Getty Images
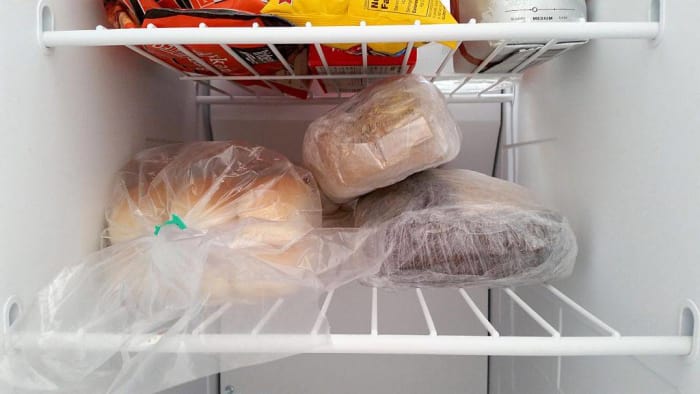
Like the eventual finished product, excess dough can also be stored in your freezer for later. So if you find you’ve made too much dough for your meal, simply ball it up and thoroughly wrap it in plastic so it doesn’t get freezer burn or absorb any odors. If properly packaged, dough can be kept in a deep freeze for weeks or more.
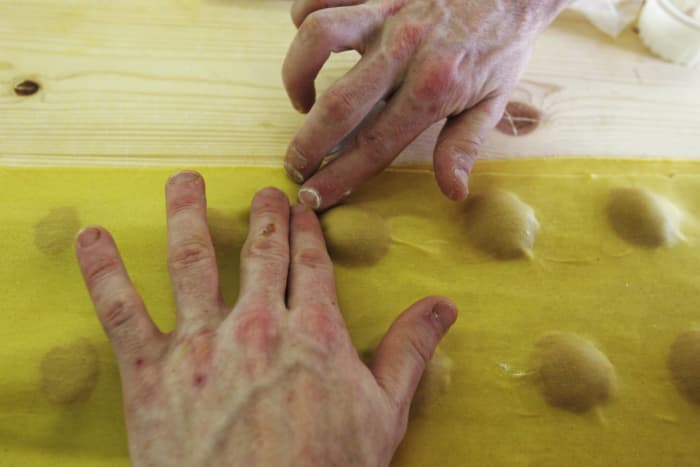
14 of 20
Let all the air out
Marco Di Lauro/Getty Images
Air is great when it comes to breathing and all that fun stuff, but it can wreak havoc on your ravioli if too much gets into each pocket. The air will end up expanding when cooked, which can rupture the delicate little pillows. Do your best to squeeze out as much air as you can before sealing the ravioli — regardless of which preparation method you choose — by working from the top down to the sides, kind of like getting the air out of a toothpaste tube. If you’re using a mold, you’ll probably be able to run your rolling pin (or wine bottle) over the ravioli when sealing. Of course, it’s impossible to release every bit of air, so don’t beat yourself (or your ravioli) up too much.
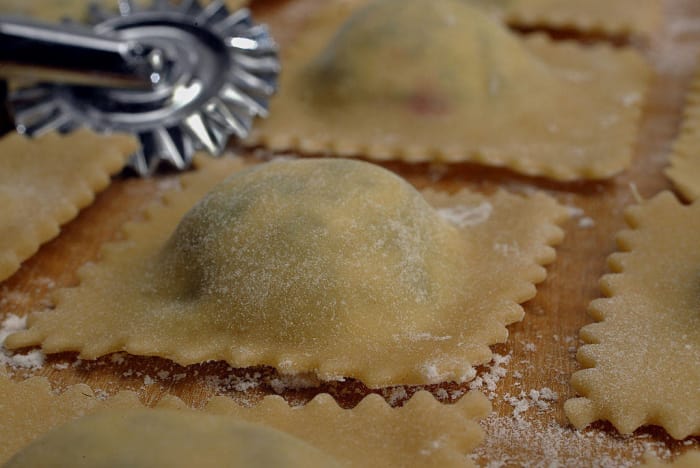
15 of 20
When all else fails, fork it
Spencer Weiner/Los Angeles Times via Getty Images
If your ravioli mold isn’t cutting it (literally), you’re dividing up the dough by hand or are using the aforementioned glass cup method, consider using a ravioli cutter — a small, crimped-edged wheel that resembles a pizza cutter — to slice with precision. If you don’t own one, simply use a pizza wheel, a knife or just the glass to make the cuts, and then press the tines of a fork around the edge like an empanada to create that signature homemade design and to make sure the dough is properly sealed. If you need some extra seal strength (ideally the dough should be slightly sticky), use a little water or some egg whites as adhesive.
16 of 20
Rapper’s delight
JEFF PACHOUD/AFP/Getty Images
If you’re using the mold method and find yourself fighting to free some of the raviolis from their metal prison, don’t pull or push them out with your fingers, as the delicate pasta exterior could break. Instead, gently rap the mold against the counter, and your pasta prisoners should be tasting sweet freedom in no time.
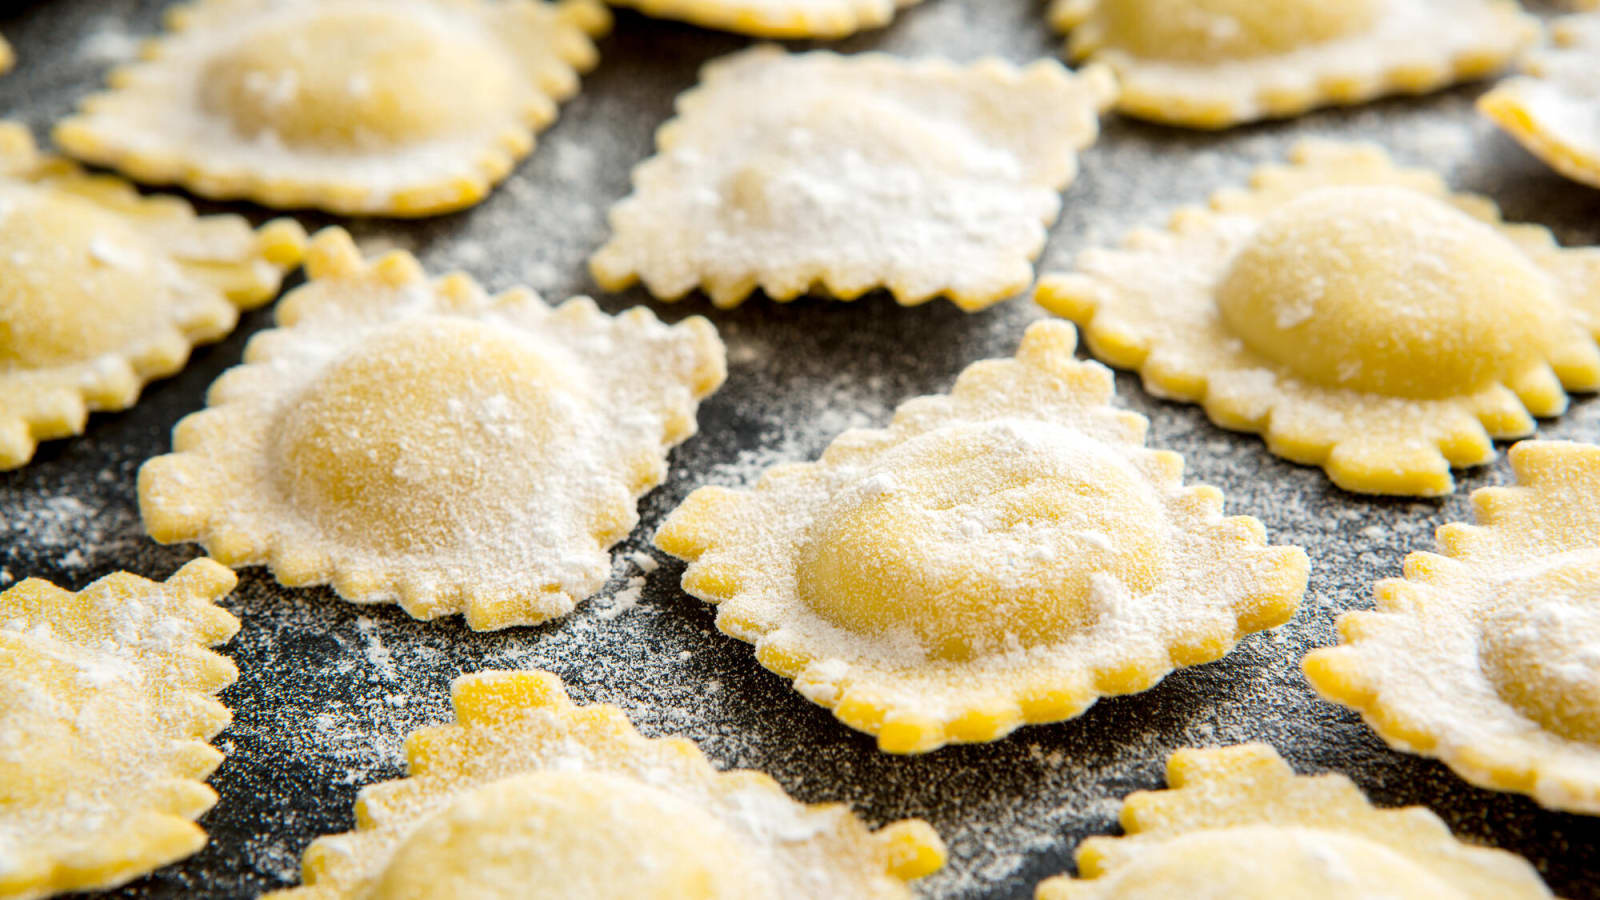
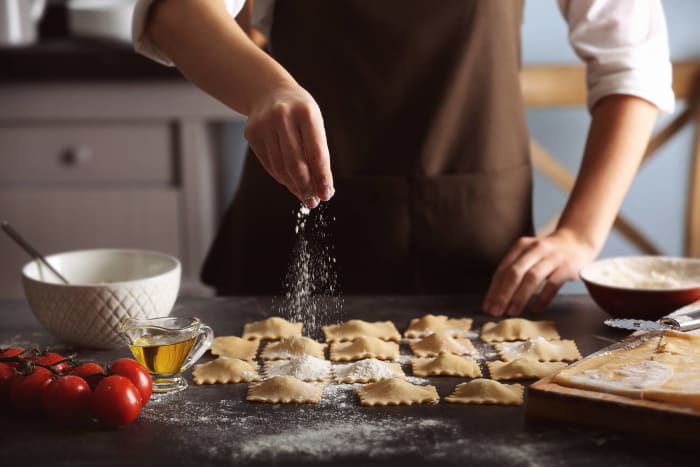
17 of 20
Don’t forget to dust
Anne Cusack/Los Angeles Times via Getty Images
Even after your pretty little raviolis are done being made, be sure to dust them with flour. The last thing you want at this point is to have your masterpieces get stuck together, torn apart or some other nightmare scenario. Also, you’ll want to flip them after 10-15 minutes to prevent further sticking.
RAFA RIVAS/AFP/GettyImages
A watched pot never boils, but watched ravioli will cook before your very eyes. Generally, fresh ravioli only requires three to five minutes to cook, and you shouldn’t rely on the old cooking adage that says when they float to the top, they’re done. If you want to test one before taking them all out, cut a corner off. If there’s no line of uncooked pasta running through the dough, you’re all set. If you’re still unsure, simply eat the corner. There’s no more accurate way to test if your ravioli is done than this!
19 of 20
Pull yourself together!
John Patriquin/Portland Press Herald via Getty Images
If your ravioli starts to fall apart during cooking, don’t let your sanity crumble along with it. Although there’s little to nothing you can do at that point, making ravioli takes some trial and error, especially on your first or second attempt ever. With future batches, use a little more care when sealing each ravioli, or, if this doesn’t solve the problem, try cooking them for less time.
Carl D. Walsh/Portland Press Herald via Getty Images
Ravioli can easily break when straining out the water, so avoid using a colander or other large strainer. Instead, arm yourself with a straining spoon, which you can use to get rid of the water before gently placing the ravioli into or over your sauce. Plus, spoons are much easier to clean. We don’t know about you, but our least favorite cooking items to wash are colanders and strainers, as little bits of pasta get stuck in every little hole and the cleanup ends up taking more time than the actual cooking!


 +
+