-

-


Follow Us
-


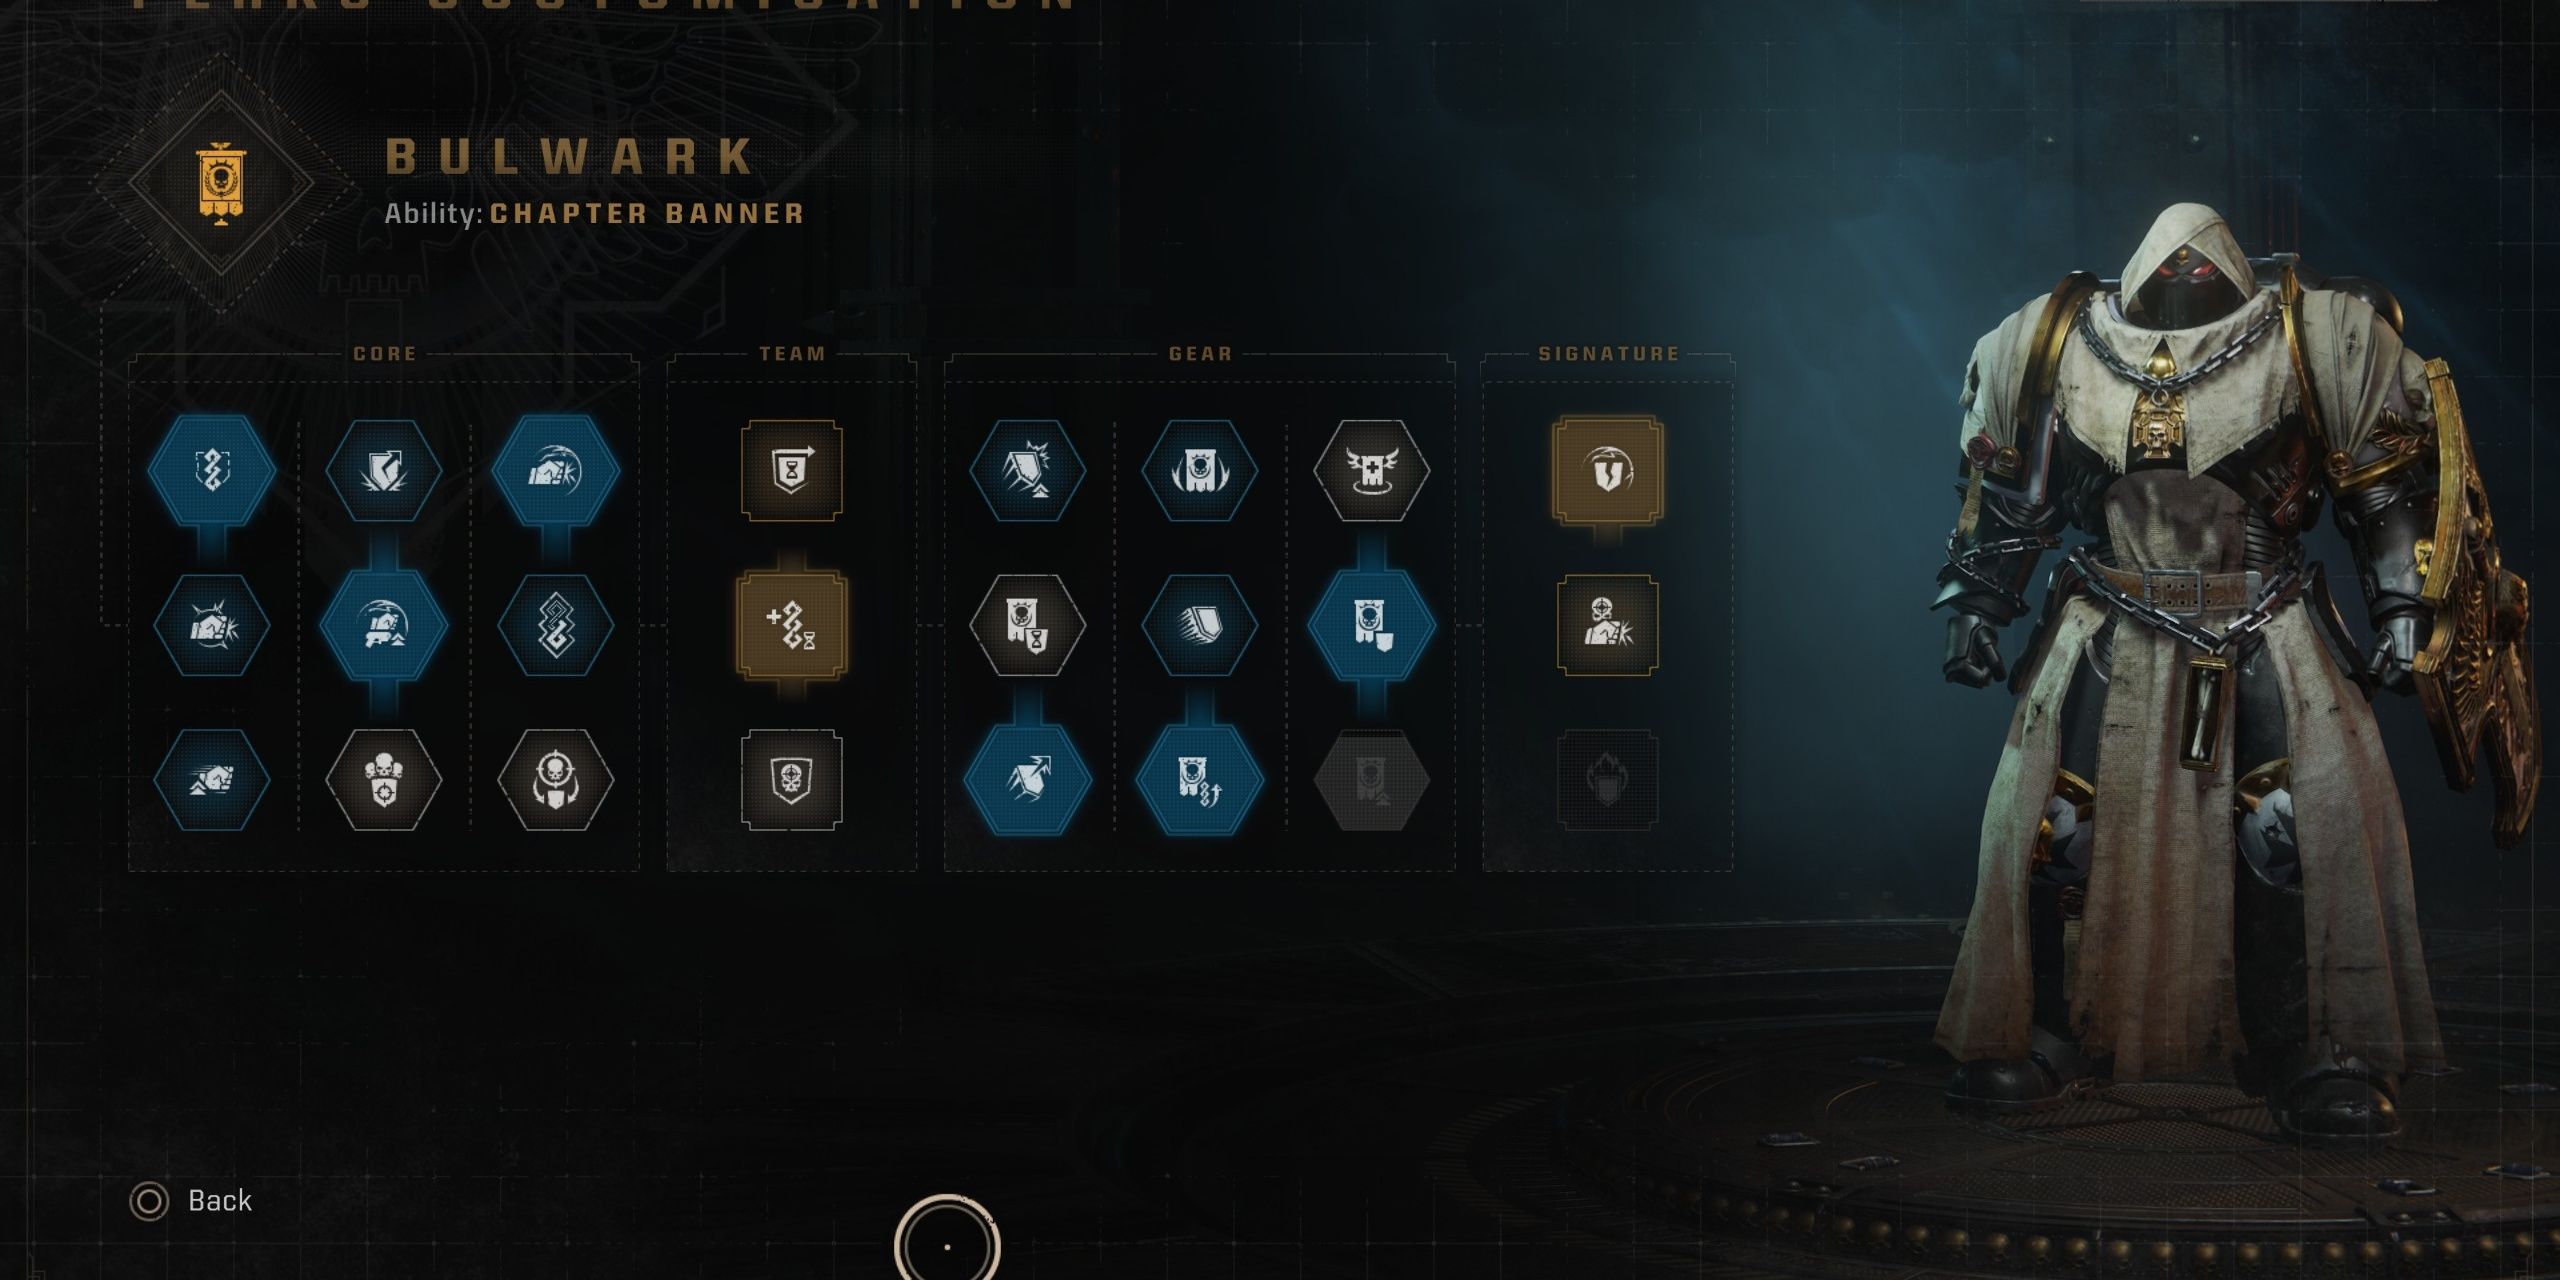
For Space Marine 2, the choice of specialisation (the Bulwark) means going all-out for the leader of the ship. If standing your ground and taking a beating is more about how to act than being anything else, then having the right Bulwark perks is for you. Here are the 7 best Prestige Perks that will make your Bulwark a true battlefield beast:
Space Marine 2: 7 Prestige Perks In The Bulwark
1. Ironclad Fortitude
Unmovable Fortitude makes your damage resistance dramatically increase when you’re stationary. This makes you very good at keeping out of objectives and holding positions in critical areas under fire.
Effect: Increases your damage resistance significantly when you remain stationary.
Why It’s Important: In objective-based maps and choke points, your Ironclad Fortitude will allow you to stay at critical points with ease. Keeping there is a strategic asset in order to become a human fort that the enemy can’t get out of.
2. Retribution Shield
Protection is also a deadly weapon with the Retribution Shield; it redirects part of melee damage back to enemies who are stupid enough to try and put you through the ring.
Effect: Reflects a portion of melee damage back to attackers when you’re struck.
Why It’s Important: Perfect against melee-focused enemies, Retribution Shield gets in the way of aggressive opponents. It slows down the enemy before they charge you, which makes them think twice about whether they really should charge you and makes them more likely to counterattack you.
3. Unbreakable Wall
Unbreakable Wall increases the speed at which your shield regenerates and enhances its maximum strength. It ‘s an absolute necessity in high-intensity matches where cover is scarce or impossible to get across.
Effect: Increases shield regeneration speed and boosts maximum shield durability.
Why It’s Essential: Shield management is everything for a Bulwark. Unbreakable Wall ensures you can quickly bounce back after taking damage, making it much harder for enemies to break through your defences, especially when cover is scarce or you’re isolated.
4. Shield Bash Mastery
You gain Shield Bash Mastery whenever you meet offence with defence. This increases the range and effectiveness of your shield bash, stunning enemies longer and allowing you more time to counter / retreat.
Effect: Enlarges the range, knockback, and stun duration of your shield bash.
Why You Need It: Bulwarks aren’t just any defensive weapon — they’re crowd control mobs. Shield Bash Mastery is the bomb that gives you an incredible ability to stun multiple enemies, create space, and control engagements. That’s great for fending off enemy formations and protecting vulnerable teammates.
5. Adamantine Armor
With Adamantine Armour active, you gain immunity to dangerous effects like poison, bleeding, and stagger. It’s a crucial tool when battling elite enemies or when conditions on the field turn against you.
Effect: Grants temporary immunity to negative effects like poison, bleeding, and stagger.
Why It’s Essential: High-level enemies and special units often rely on debuffs to cripple you. Adamantine Armour ensures you stay mobile and effective even under heavy status attacks, allowing you to survive fights that would normally wear you down.
6. Vanguard of Victory
Holding strong has its rewards. Vanguard of Victory grants a defensive boost to your allies whenever you’re at full health, allowing your team to press the advantage while you anchor the fight.
Effect: Boosts nearby allies’ defence stats while you remain at full health.
Why It’s Essential: Vanguard of Victory isn’t just about your own survival — it’s about team support. By staying healthy, you empower your entire squad, making pushes, defences, and coordinated attacks much more resilient. It rewards tactical positioning and disciplined play.
7. Last Stand Protocol
When defeat seems certain, Last Stand Protocol kicks in. Instead of falling, you’ll receive a powerful surge of health and shield regeneration, giving you one final chance to rally and strike back hard.
Effect: When your health drops to zero, you instead trigger a surge of health and shield regeneration, preventing death once per cooldown.
Why It’s Essential: Last Stand Protocol gives you a second wind in critical moments. Whether you’re outnumbered or trying to hold an objective under brutal fire, it allows you to recover and potentially turn a desperate situation into a heroic comeback.
Final Thoughts
Choosing the right Prestige Perks transforms a Bulwark from a durable frontline soldier into an unstoppable juggernaut. Whether you’re locking down objectives, repelling ambushes, or standing against overwhelming odds, these perks are key to becoming the immovable wall your squad can depend on. In Space Marine 2, survival isn’t just endurance — it’s about overwhelming resilience.
For more gaming gear recommendations, check out Total Apex Gaming!
More must-reads:
- MLB insider wouldn't be 'shocked' if Mets made surprising Francisco Lindor decision after new Juan Soto claim
- NHL legend Claude Lemieux dies at 60
- The 'NBA Coaches of the Year' quiz
Breaking News
Trending News


Customize Your Newsletter
 +
+
Get the latest news and rumors, customized to your favorite sports and teams. Emailed daily. Always free!

PRIVACY POLICY COOKIE POLICY CONTACT US
ABOUT YARDBARKER TERMS OF SERVICE
By using this site, you agree to our Terms of Service and Privacy Policy.
This site is for entertainment purposes only.
There is no gambling offered on this site.
Gambling Problem? Call 1-800-Gambler.