-

-


Follow Us
-

x
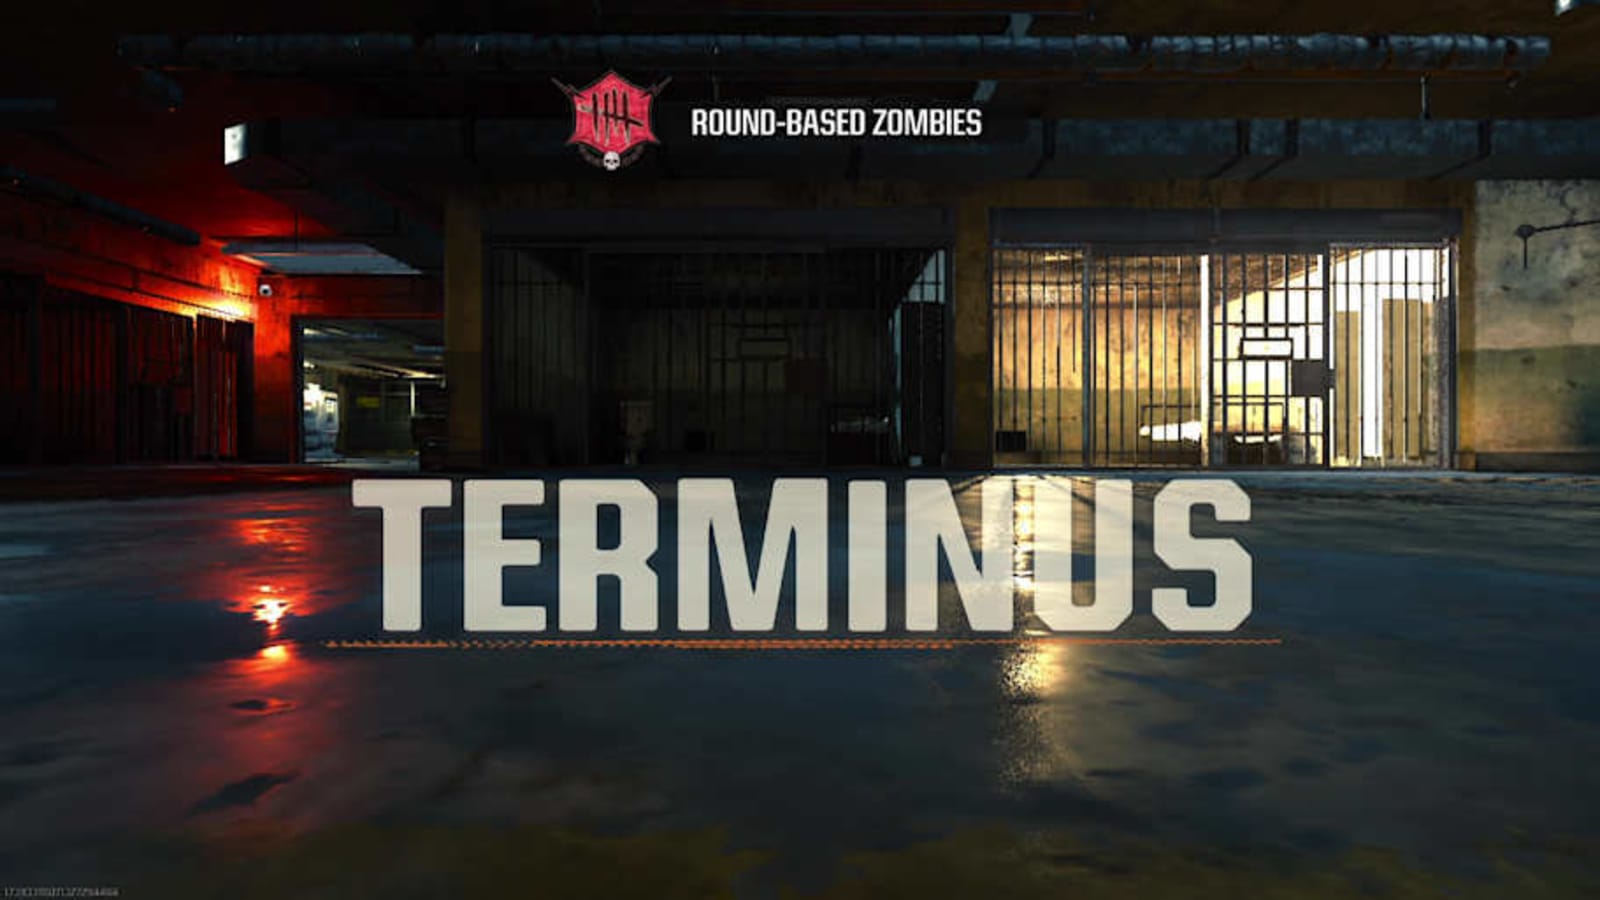
Zombies Terminus
Microsoft
Call of Duty: Black Ops 6 has the most robust and interesting Zombies mode we’ve seen at launch in a COD game in years, and Terminus is the bigger and more difficult of the two maps to complete the story of. It’s a long and obscure chain of easter eggs that you need to uncover, but we’ve got all the details you need. This guide is a complete walkthrough encompassing every step you need to take to complete the Terminus story easter egg chain. If you feel you’re missing anything, just make sure to read through our instructions in detail and all will be revealed. This is the tougher of the two Zombies maps in Black Ops 6 to complete, so make sure to finish off the Liberty Falls story easter egg walkthrough first! The first step you must complete on Terminus is starting up three generators. The generators cost 500 points to start, and you must defend them for a minute in order to activate them entirely. Three generators must be activated in order to start the quest properly, and luckily, you will get waypoints
More must-reads:
- Dave Roberts provides worrisome update on Tyler Glasnow
- 17-year-old Spurs fan suffers tragedy during victory celebration
- The 'Men's French Open champions' quiz
Breaking News
Trending News


Customize Your Newsletter
 +
+
Get the latest news and rumors, customized to your favorite sports and teams. Emailed daily. Always free!

MY ACCOUNT
SUBSCRIBE
ADVERTISE
JOBS
FAQ
PRIVACY POLICY COOKIE POLICY CONTACT US
ABOUT YARDBARKER TERMS OF SERVICE


PRIVACY POLICY COOKIE POLICY CONTACT US
ABOUT YARDBARKER TERMS OF SERVICE
Copyright 2026 YB Media, LLC. All rights reserved.
By using this site, you agree to our Terms of Service and Privacy Policy.
This site is for entertainment purposes only.
There is no gambling offered on this site.
Gambling Problem? Call 1-800-Gambler.

By using this site, you agree to our Terms of Service and Privacy Policy.
This site is for entertainment purposes only.
There is no gambling offered on this site.
Gambling Problem? Call 1-800-Gambler.