-


Follow Us

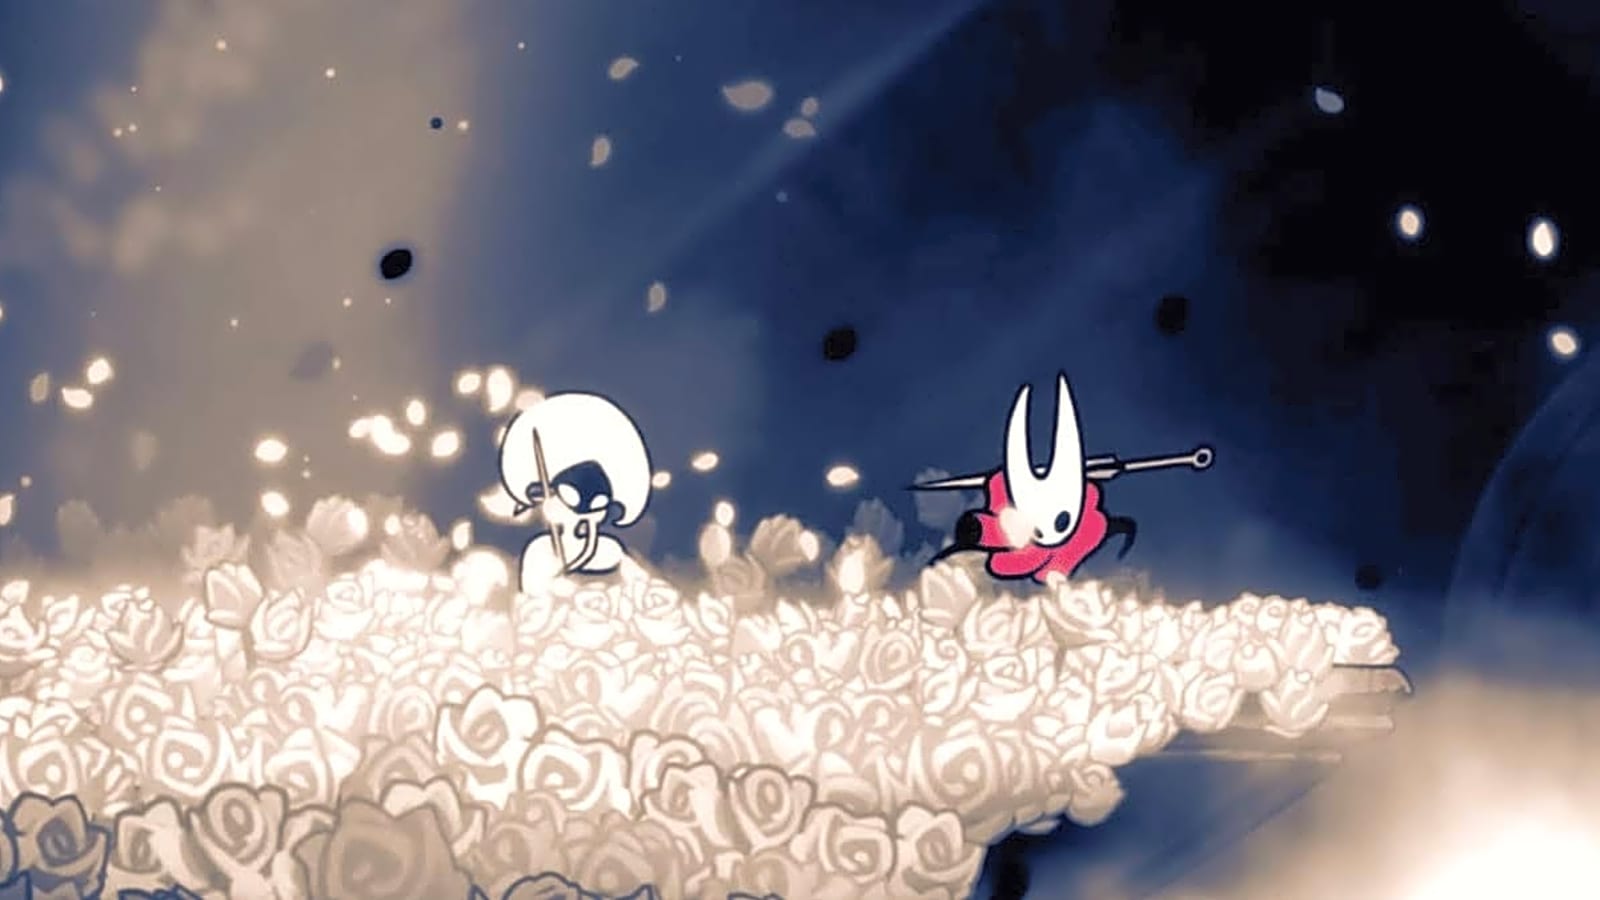
An easy pair of duo bosses to delight your playthrough. Cogwork Dancers are the first bosses you probably encounter when you enter the Citadel. As for the Great Conchflies, they guard the entrance to the Sand of Karak, which, while not story-relevant, houses several useful finds. Fortunately, both boss encounters are quite easy if you know what you’re doing.
Cogwork Dancers: Choregraphed Simplicity
This fight is very easy. They literally show you where they will be going and give you a pretty good chunk of time to get out of their way. That said, you can still cheese it if you want to make it even easier.
You will need Ascendant’s Grip, Architect Crest, Pollip Pouch, and 3 good long range Red Tools (I used Tacks, Sting Shard, and Curveclaw). After the fight starts, jump up and cling to the golden door that appears over the entrance to the room (right side). You will pretty much be untouchable from any of their attacks. Occasionally, one of the screen-wide attacks might catch you but, that’s the only one, and it doesn’t happen too often.
While clinging to the wall, you can just keep throwing Red Tools at the Dancers as they dash by. With some good timing, you can even hit both of them with one tool, such as when they converge into the middle of the screen. You can also drop down and hit one a few times with your Needle before jumping back up to safety.
Great Conchflies: 2 Bosses, 1 Conch

Unlike the Dancers, there is no cheese spot for this fight. Fortunately, there really doesn’t have to be, since this fight is pretty easy to begin with. The rumbling dirt tells you where the Conchflies are coming from, so their dashes across the screen are pretty easy to avoid. The only 2 abilities that you have to worry about are the Drill Slam and the Conch Spit.
For the Drill Slam, the Conchfly performing it will float from one side of the room to the other before dropping down. Very easy to avoid by just moving to the side it originally spawned from. Your focus, therefore, should be on what the other Conchfly is doing. They will either dash or spit a Conch.
The Conch Spit attack is only a problem if you panic or just happen to get caught in bad RNG. When spat, the Conch will also follow the same trajectory as it ricochets around the room. Standing in the exact center of the room or in either corner will keep you completely safe.
However, if a Conchfly happens to be dashing towards where you are standing, that’s where issues can occur. If you have to make a choice, take a Conch hit. It will only deal 1 Mask of damage, whereas getting hit by a Conchfly will deal 2. Additionally, if you are familiar with the trajectory of the Conch and skilled in timing, you can always hit the Conch back towards the Conchflies, dealing damage to them.
You have a brief opening to hit the Conchflies while they burrow into whatever they’ve hit, so use that opportunity to deal some damage. You only have to kill one. When it dies, the other will run away (you fight it later in the Sands of Karak).
More must-reads:
- 49ers' red-hot backup Mac Jones aims to keep streak alive against Buccaneers
- Breece Hall makes feelings on uncertain future clear amid Jets' 0-5 start
- The 'Most starts by an NFL quarterback' quiz
Breaking News
Trending News


Customize Your Newsletter
 +
+
Get the latest news and rumors, customized to your favorite sports and teams. Emailed daily. Always free!

PRIVACY POLICY EDITORIAL POLICY CONTACT US
ABOUT YARDBARKER TERMS OF SERVICE
Use of this website (including any and all parts and
components) constitutes your acceptance of these
Terms of Service and Privacy Policy.
This site is for entertainment purposes only.
There is no gambling offered on this site.
Gambling Problem? Call 1-800-Gambler.