-


Follow Us

Silksong is FINALLY out, and with it comes several questions as to what to build. While a full, comprehensive guide will take time, there are a few aspects of the game that are available for examination. Namely, the 7 Crests. Each one has its own strengths and weaknesses. If you want to succeed in the game, finding the right one for you is a must. To that end, here’s a little rundown on how they all work.
Hunter Crest
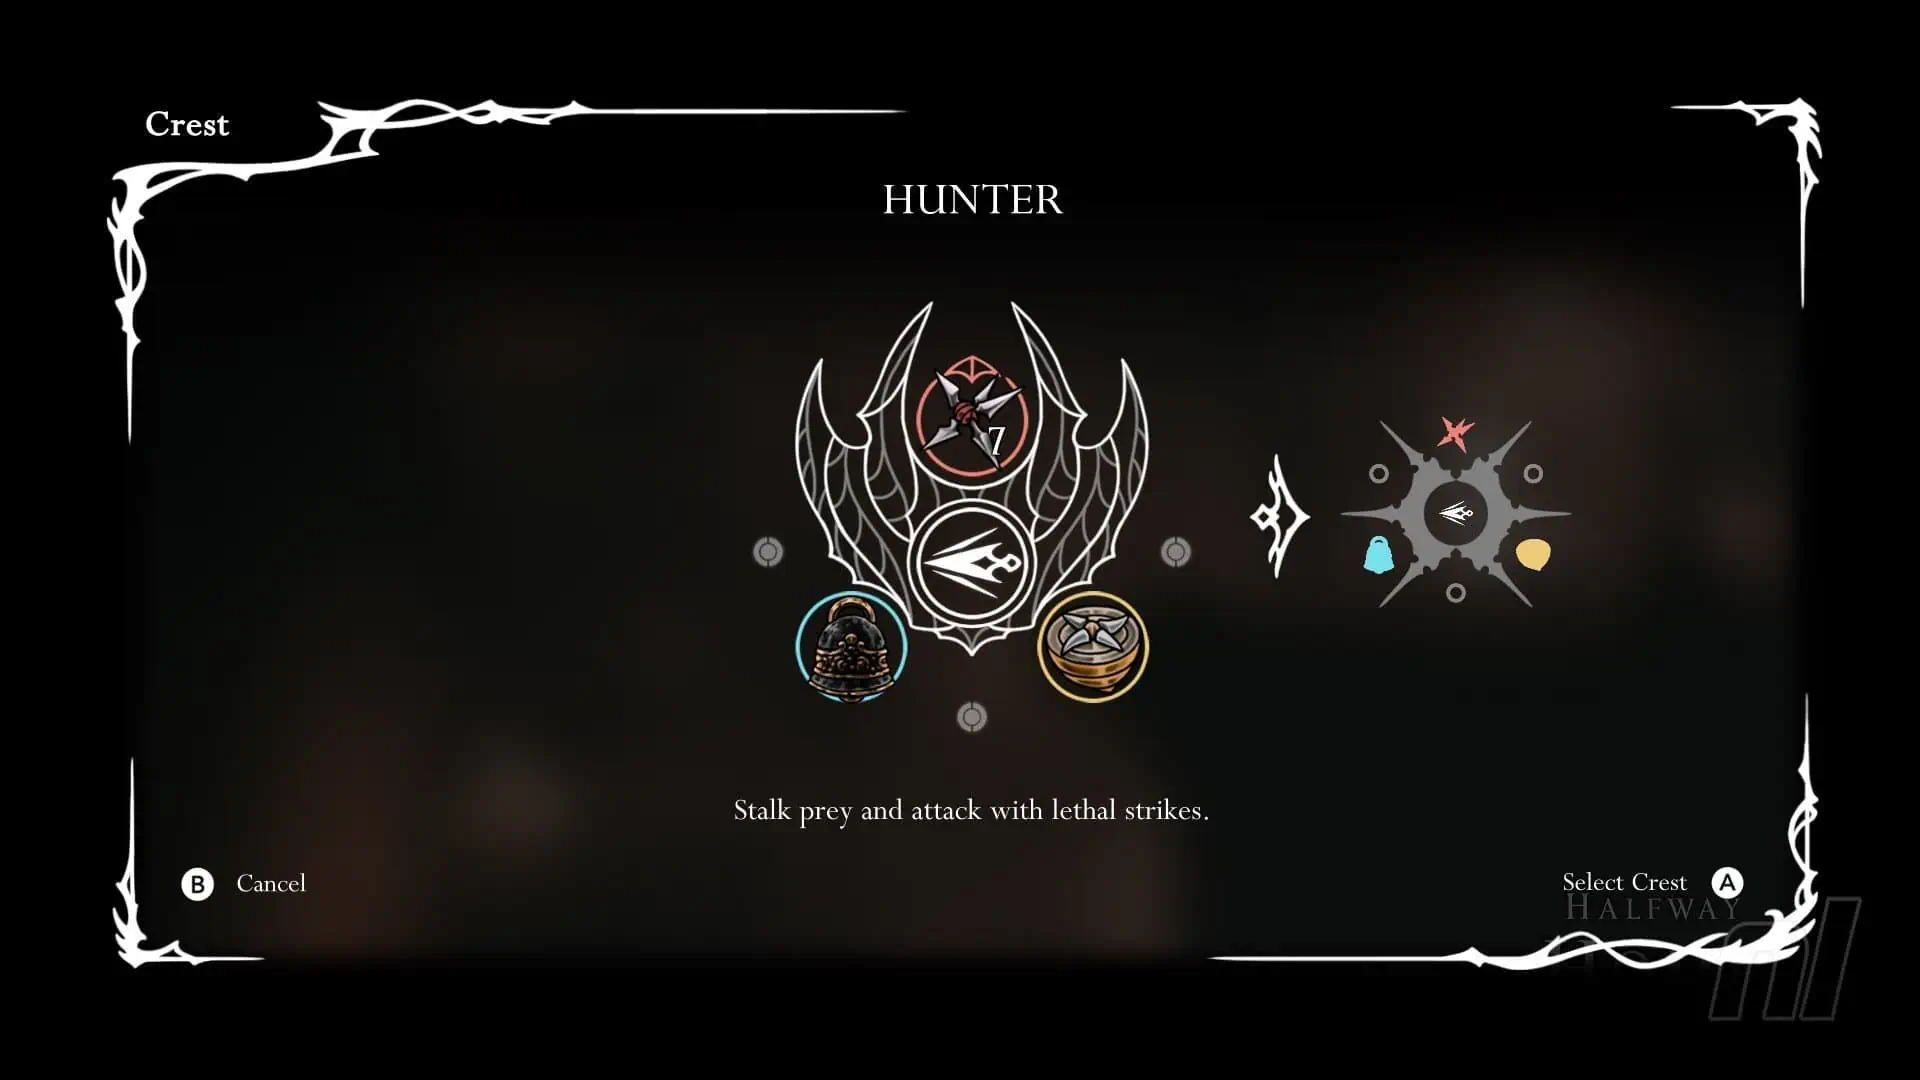
This is the Crest you start out with. However, you can upgrade it by speaking to Eva (who is beyond the closed gate in the far right edge of Moss Grotto) and have 27 unlocked slots on other Crests besides the Hunter Crest.
The upgraded version of Hunter Crest gives you a stacking damage buff to your Needle attacks, so long as you don’t get hit. There are 2 tiers of damage. The 1st maxes out at 25% bonus damage, and the 2nd maxes out at 40%. Your progress towards maxing out either Buff is indicated by a curved bar on your resources bar in the top left corner of the screen.
The upside of this Crest is that it will give you quite a lot of bonus damage. The downsides, however, are that the Buff ONLY applies to Needle damage, and you can’t take any damage yourself, or you will completely reset your progress. As such, to fully utilize this Crest, you need to be very good at avoiding damage. The Buff duration lasts indefinitely but will reset when you Rest or Fast Travel.
Reaper Crest
If you have issues managing your Silk, or just want to spam abilities, this is the one for you. After Binding, your attacks for the next 10 seconds will spawn Silk fragments, which can be picked up (or struck) to restore some of your Silk. It takes 3 fragments to restore 1 stand of Silk. Since this doesn’t affect your ability to restore Silk when you strike enemies with your Needle normally, this will allow you to restore Silk much more efficiently.
There are a few negatives to this Crest that should be considered. First of all, the effect that allows you to spawn Silk fragments will end prematurely if you take damage, so you have to be careful not to waste it. Secondly, of all this move sets, Reaper has the slowest Basic Attack, and the Charged Attack is the weakest.
The Silk fragments themselves have a time limit. If you don’t collect them within 10 seconds of spawning, they will disappear. They also spawn in the direction that you attack, which can cause them to appear in hard-to-reach or unhelpful places.
Wanderer Crest
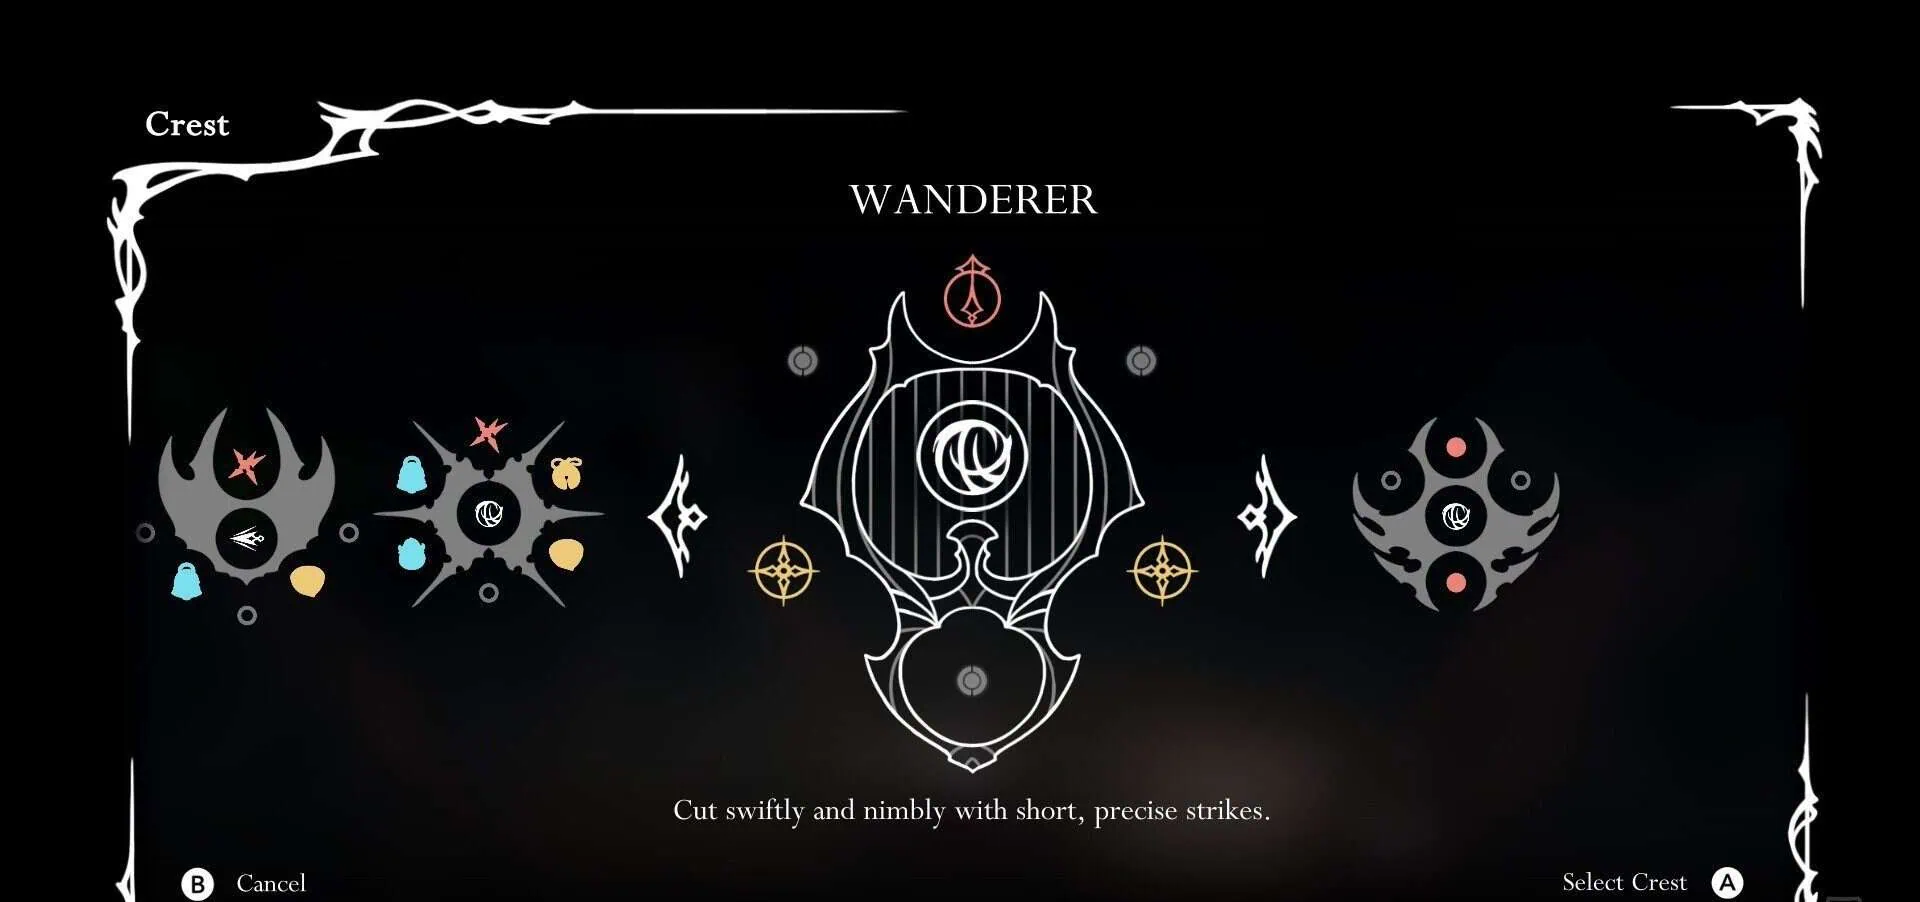
If you played Hollow Knight, you will be familiar with the move set provided by this one, as they are very similar to each other. This one specifically increases your Attack Speed, though it does so at the cost of range. As such, if you are averse to getting up close and personal, avoid using this one.
A secondary effectof this one is that it gives Hornet a 2% chance to CRIT and deal x3 damage with any of her attacks, so long as she has 9 or more Silk stored (basically, as long as she can Bind). You can use the Magnetite Dice to increase the chance to 2.2% (wow…).
The Charged Attack for this Crest is a series of 5 rapid thrusts, each of which counts as a separate hit. This means each hit has a chance to CRIT independent of the others.
Beast Crest
Binding with this Crest on does not Heal you. Instead, Hornet will enter a fury state, which increases her damage, attack speed, and range. She will also Heal a Mask with every hit but, only 3 Masks total per bind can be restored in this way. Effectively, this is the Bloodborne Rally mechanic Crest.
This one requires a very aggressive playstyle, as well as good Silk restoration and management. It’s best for players who are all fight and no wait. It also lacks any Blue Tool slots, meaning you will have to have the Vesticrest if you want to incorporate any.
Witch Crest
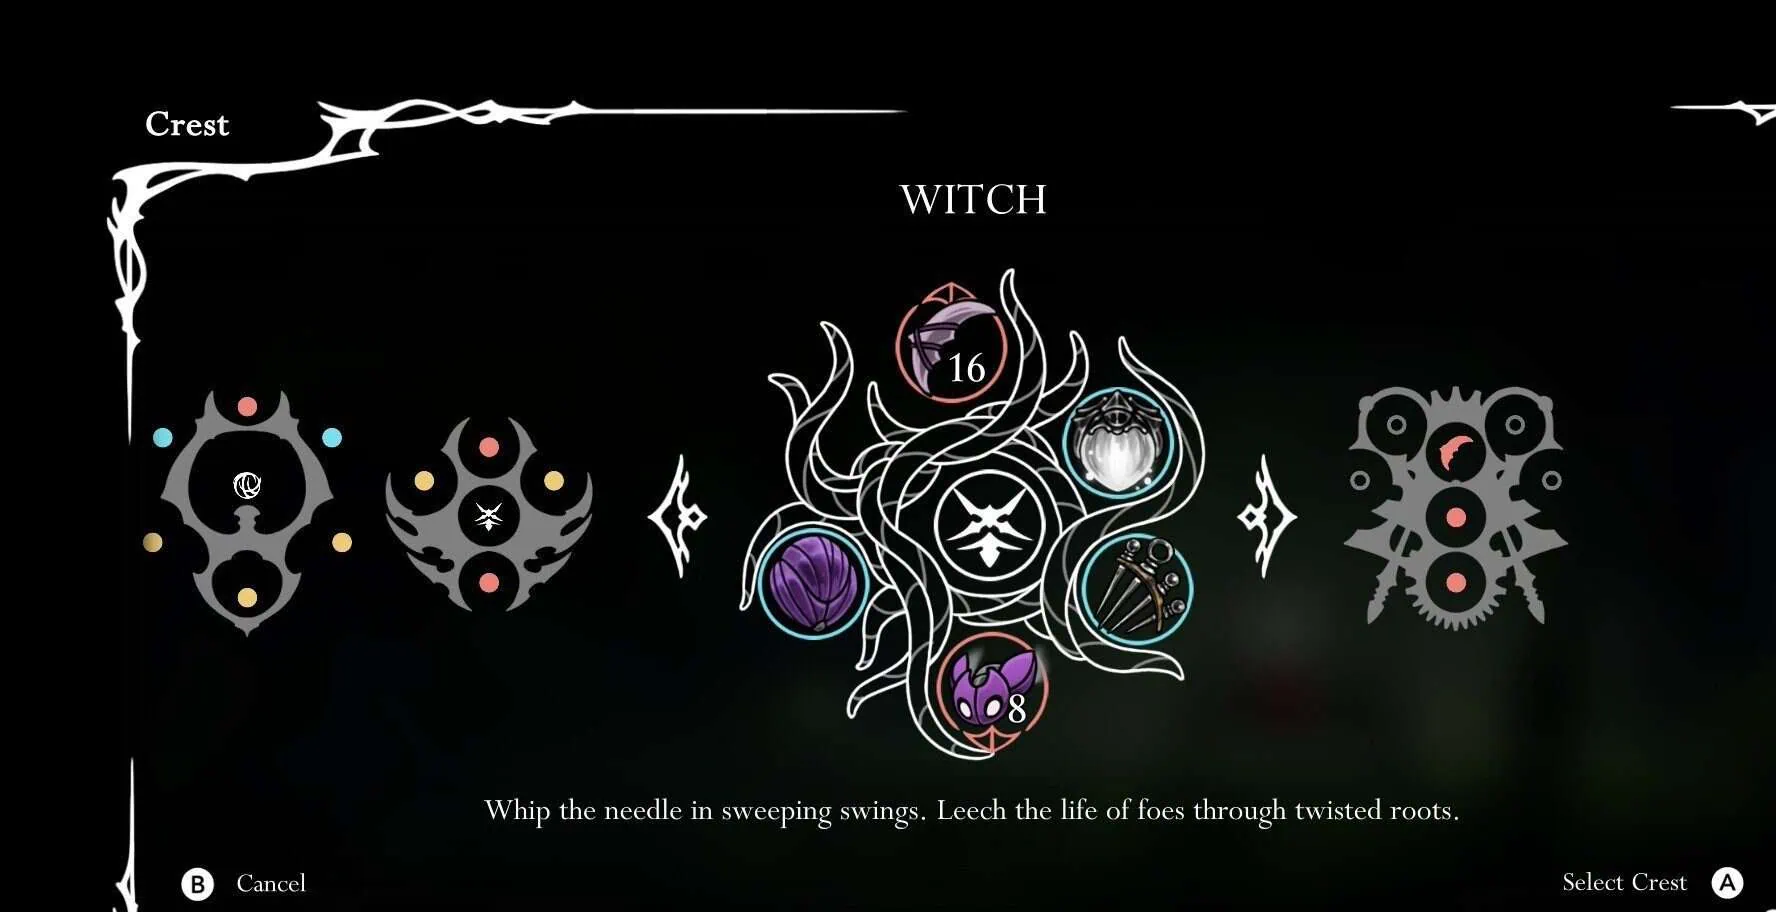
There is a long quest to get this Crest (which includes first having to deal with the Cursed Crest). Once you’ve gained the Witch Crest, however, Binding will unleash several thrashing roots and deal damage to those they hit. These roots can hit up to 3 times, and each hit deals the same damage as a Needle attack.
The drawback to this more offensive Bind is that Healing is now tied to it. Hornet will Heal a Mask for each enemy hit, up to a maximum of 3 Masks. So, if she hits 1 enemy with all 3 hits of the Bind, she will get 3 Masks back. Likewise, if she hits 3 enemies with just 1 hit of the Bind, she will also get 3 Masks back. If, however, she hits nothing, she will NOT Heal at all. As such, this one’s Bind will take some getting used to.
The Charged Attack from this one potentially does the most damage (it has the highest modifiers, but it doesn’t always land).
Architect Crest
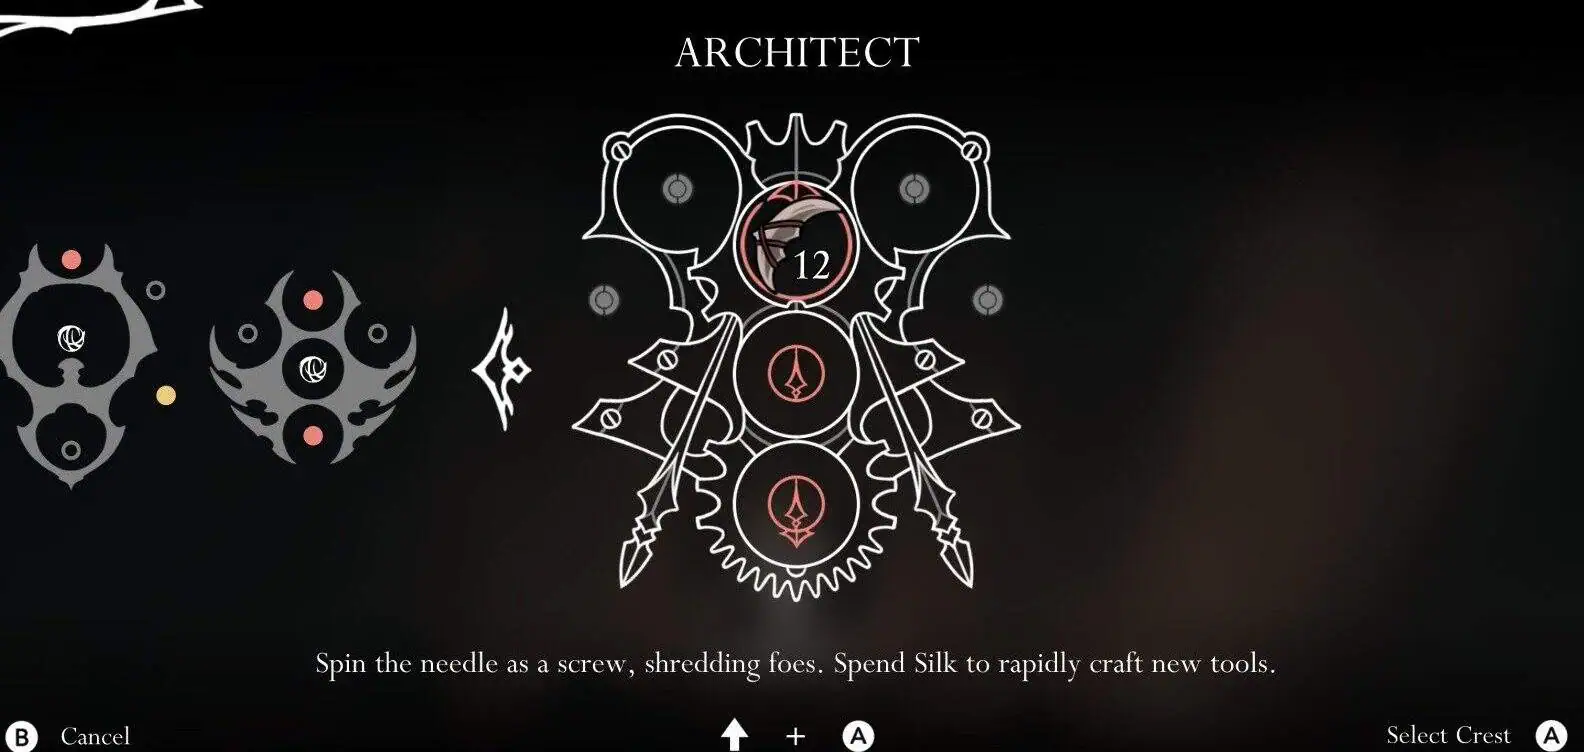
While you have this Crest equipped, you have access to a special Bind that allows you to replenish your Red Tools without a Bench. This means that, for example, if you run out in the middle of a Boss Fight, you can make more on the fly.
Using this special Bind costs the same amount of Silk as a standard Bind but does not Heal (though you do still have access to the standard Bind). You will also still use up the same amount of materials that you would use if you were to replenish your Red Tools at a Bench.
This one also allows you to Charge both your Run-Slash and Down-Slash attacks, in addition to your Basic Attack. All Charged attacks are Drills, with the Charged Basic Attack hitting for x4 Needle damage over 7 hits.
Shaman Crest
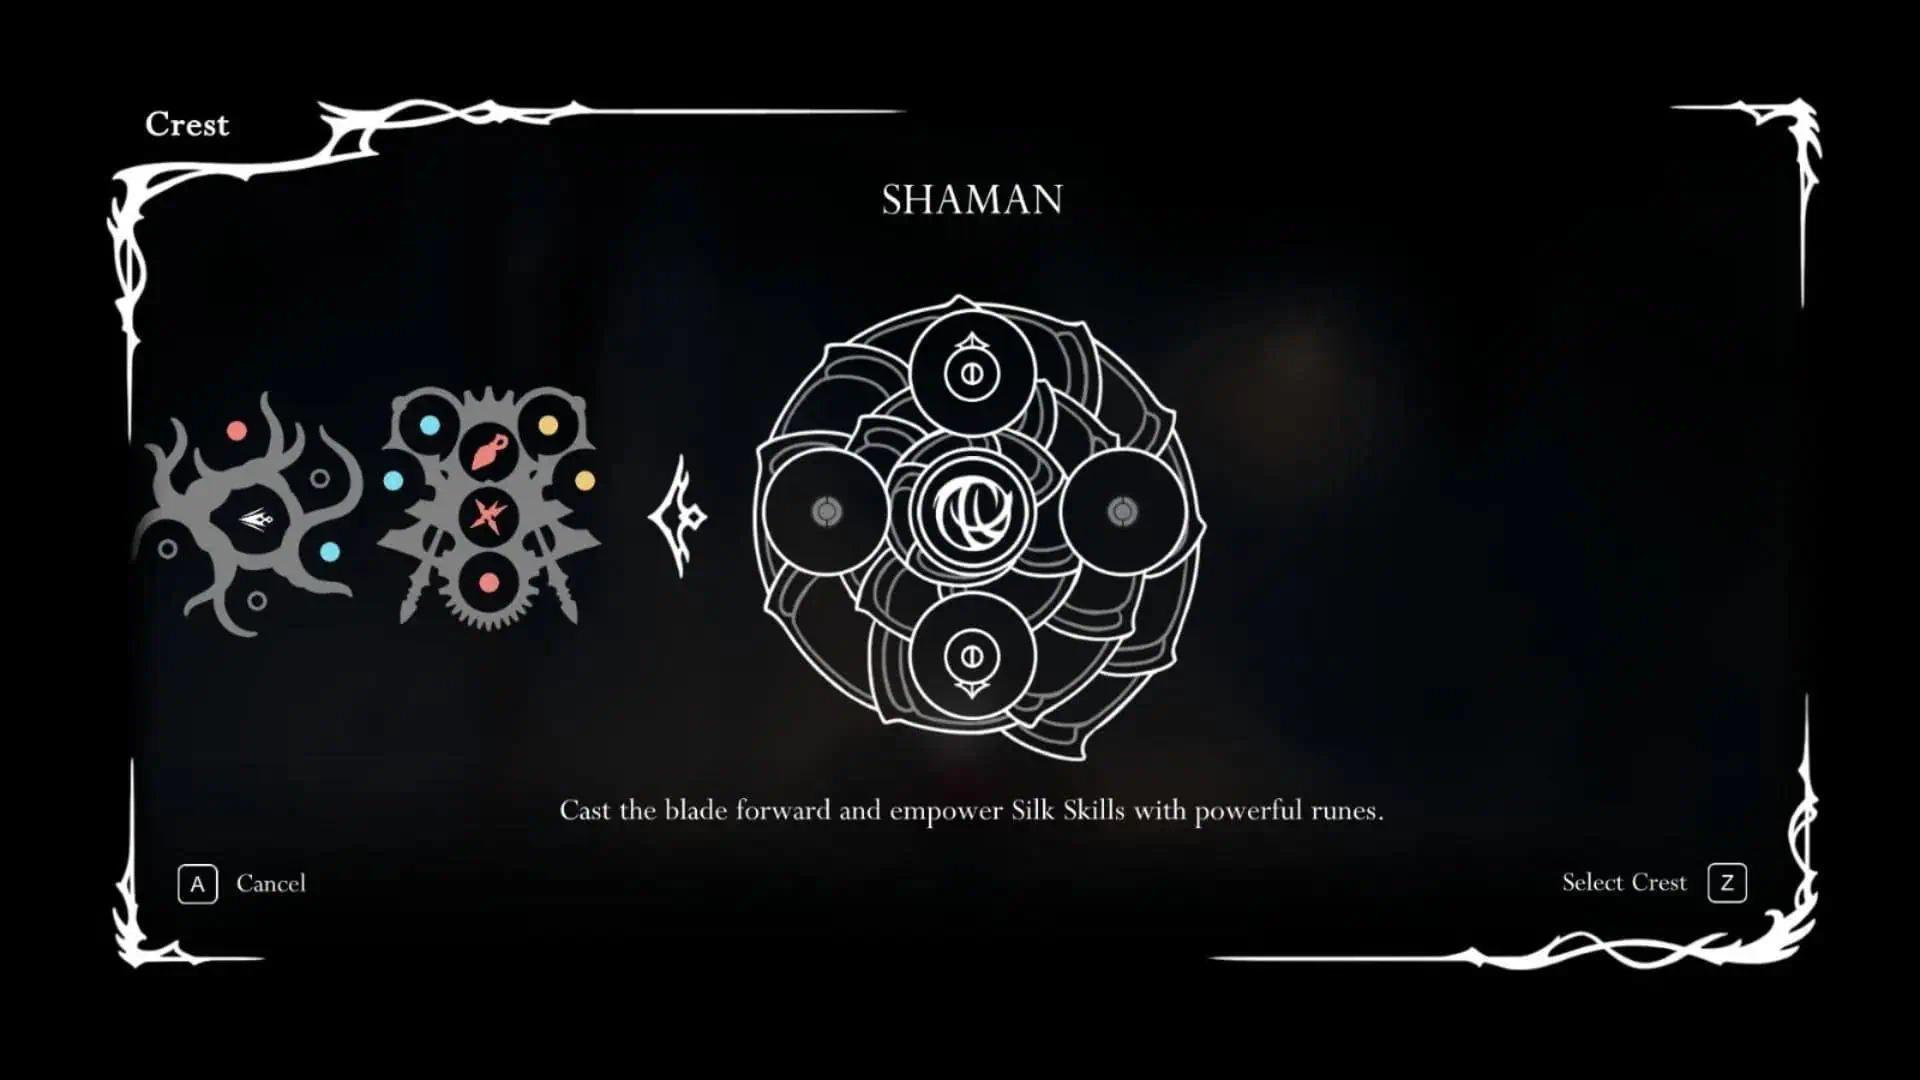
This is the caster Crest. It increases the damage of Silk Skills by .5 Needle damage. For example, if a Skill normally deals x2 Needle damage, it will instead deal x2.5 Needle damage. Furthermore, this turns all of Hornet’s attacks into ranged attacks. While these ranged attacks do have the standard knockback, Hornet is not pushed back when she attacks (unless the enemies are extremely close to her). However, to counter this extra range, Hornet’s attacks are now slower than normal.
Another aspect of this is that it prevents Hornet from healing in the air. When she activates Bind while airborne, she will first plummet towards the ground and will only Heal once she lands. If Hornet takes too long to reach the ground, the Bind will be cancelled, and she will not Heal (though she will still expend Silk).
Unfortunately, despite only having access to Blue Tool Slots naturally, there aren’t very many Blue Tools that synergize with this one, which limits your build options. Course, one could argue that this makes it easier to successfully build around the Crest, since there’s less chance of getting it wrong, but still, limiting options is always annoying.
More must-reads:
- Titans' Brian Callahan responds to fans calling for his firing
- Falcons' Michael Penix Jr. opens up about being benched in blowout loss to Panthers
- The 'NFL 200-touchdown-pass Club' quiz
Breaking News
Trending News


Customize Your Newsletter
 +
+
Get the latest news and rumors, customized to your favorite sports and teams. Emailed daily. Always free!

PRIVACY POLICY EDITORIAL POLICY CONTACT US
ABOUT YARDBARKER TERMS OF SERVICE
Use of this website (including any and all parts and
components) constitutes your acceptance of these
Terms of Service and Privacy Policy.
This site is for entertainment purposes only.
There is no gambling offered on this site.
Gambling Problem? Call 1-800-Gambler.